
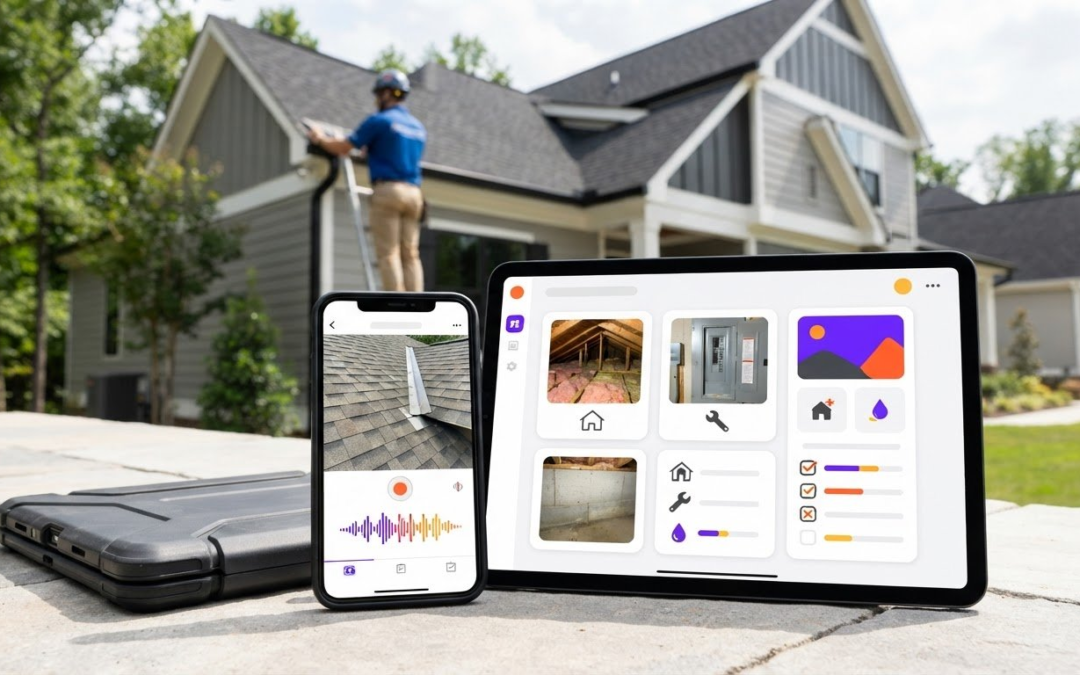
The camera isn’t the hard part; turning every image into a clear, categorized finding is. Home inspection photo management software brings photos, labels, notes, and reporting into one workflow, with AI tools that can help analyze images and voice-to-text features that capture findings as you work. The right fit depends on how well those tools match your inspection process.
It’s easy to focus on photo storage, but the bigger time-saver is moving smoothly from onsite documentation to an organized report. Compare the features that matter: plan structure, AI photo analysis, report categorization, and voice-to-text findings. This guide breaks down the options so you can spot the practical differences, understand which capabilities support your workflow, and choose software that helps keep inspection documentation clear and complete.
Key Takeaways
- Compare plans by the tools included and how well they fit your inspection workflow, not by price alone.
- Learn what AI photo analysis and report categorization can contribute to clearer, more organized findings.
- Use templates and customizable checklists to shape inspection documentation around the way you work.
- See how voice-to-text findings and photo labeling can streamline onsite documentation, and where PHOTO iD’s app features may fit.
AI-powered inspection photo analysis and report categorization
AI features can help turn inspection photos into organized evidence, but the workflow matters as much as the analysis. Compare how each option moves an image from mobile capture to a finished inspection report.
Automatic Photo Filing
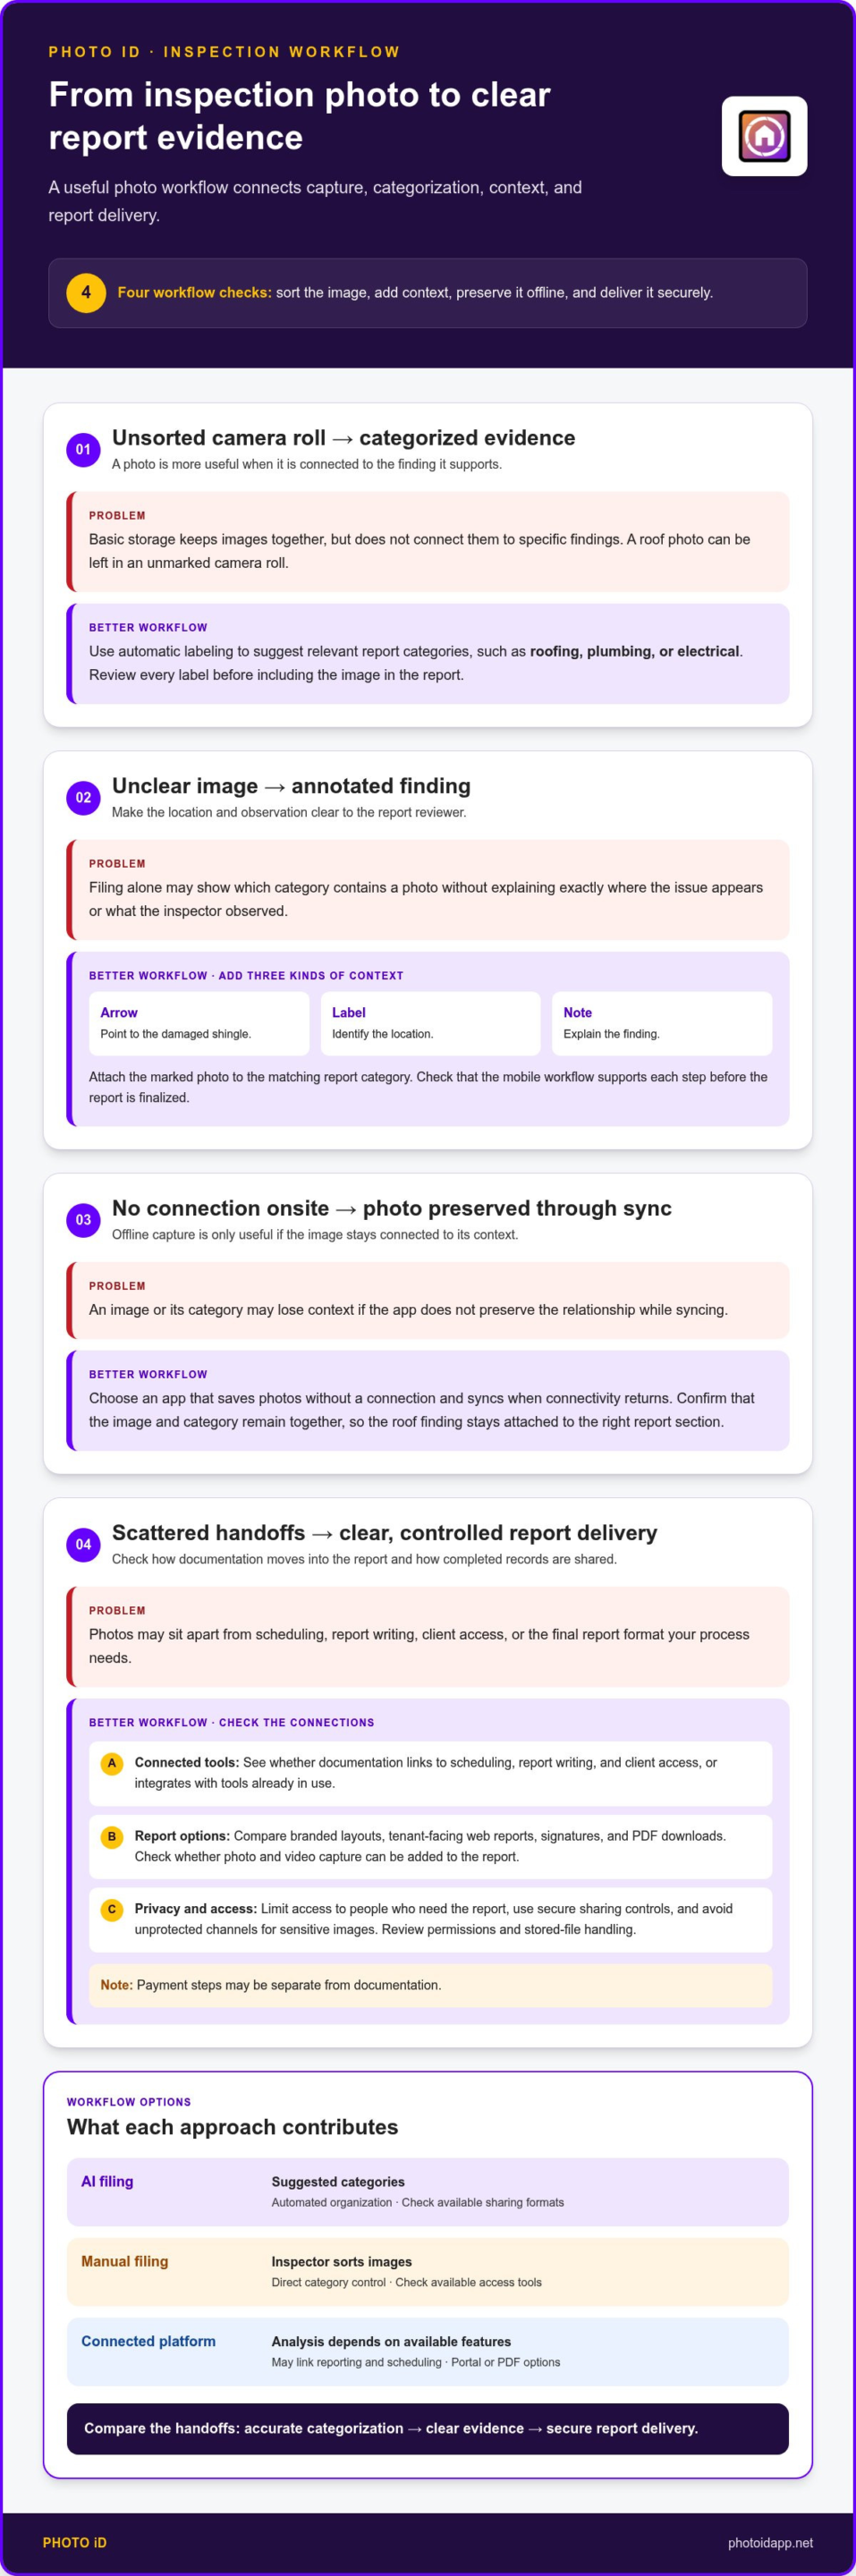
Automatic labeling helps sort photos into relevant report categories, such as roofing, plumbing, or electrical. Review each label before including the image in a report. This is more useful than basic photo storage, which keeps images together without connecting them to specific findings. A roof photo, for example, should be labeled with the relevant roof observation, not left in an unmarked camera roll.
Photo Annotation and Report Attachment
Annotation adds context directly to an image. Use an arrow to point to a damaged shingle, a label to identify its location, and a note to explain the finding. Then attach the marked photo to the matching report category. This is more precise than filing alone: a reviewer can see both where the issue appears and what the inspector observed. Check whether the mobile workflow supports each step before the report is finalized.
For offline capture, choose an inspection app that saves photos without a connection and syncs them when connectivity returns. Confirm that the workflow preserves the image and its category during syncing, so the example roof finding remains attached to the right report section.
If scheduling, report writing, and client access are part of your process, look for software that connects documentation with those steps or integrates with your existing tools. Check how inspection details move into the report and how clients can access completed documentation.
Photo storage can expose property details, access information, or personal items. Limit access to people who need the report, use secure sharing controls, and avoid sending sensitive images through unprotected channels. Review how the software handles permissions and stored files.
Also compare the final report options: branded layouts, tenant-facing web reports, signatures, and PDF downloads. Check whether photo and video capture can be added to the inspection report, and whether payment steps are separate from documentation.
| Option | Photo analysis | Report workflow | Sharing |
|---|---|---|---|
| AI filing | Suggested categories | Automated organization | Check available formats |
| Manual filing | Inspector sorts images | Direct category control | Check access tools |
| Connected platform | Depends on features | Reporting and scheduling links | Portal or PDF options |
Choose the option that connects accurate categorization, clear evidence, and secure report delivery with the fewest handoffs.
What is a Property Inspection Software?
Property inspection software organizes field observations, photos, checklists, and reports in a digital workflow. Templates guide what inspectors record, while customizable workflows help teams document findings consistently.
Customizable Inspection Templates
A template is a reusable structure for recording inspection areas, observations, and supporting photos. Its checklist can prompt an inspector to review items such as windows, outlets, or plumbing, then add notes or actions for each finding. Unlike a fixed checklist, a custom template can reflect a team’s property types and reporting needs. Shared templates also give agents and inspectors a common format.
Standardized Inspection Workflows
Standardized workflows use the same template sequence across inspections, so teams follow consistent steps from room to room. A checklist might prompt the inspector to record a condition, attach a photo, and select a follow-up action. Some tools can generate a draft template with AI; treat that draft as a starting point, then edit labels and steps to match your process. Signatures can be included in the workflow where the software supports them.
Compare how clearly each option handles shared checklists. A team template should make it easy to distinguish required observations from optional notes, and to update the working version without confusing agents or inspectors. Explore custom inspection templates as one way to structure repeatable documentation.
Importing Existing Inspection Photos
To add existing photos, upload them from your device or supported storage, assign them to the correct inspection, and add a clear label, such as kitchen or roof. Then connect each image to its finding. This differs from template setup: importing organizes evidence already captured, while templates guide what to document during future inspections.
Before importing a batch, group photos by property or inspection and use clear filenames where possible. Review the images in the report, correct any misplaced categories, and remove duplicates. This helps preserve context when adding older photos to a new document.
Inspection software pricing and subscription plans
Compare plans based on how your inspection operation works, not just the headline price. Platforms may differ in user licenses, assignment limits, features, and billing terms. A solo inspector and a team that shares assignments may need different plan structures.
For a platform quote, price depends on the case and is given after a quote request; cost factors include seats, inspection volume, selected features, and storage needs. Map those factors to your workload first. Count the people who need access, estimate how often they complete property inspections, and identify which documentation steps the software must support.
Seat limits matter when owners, inspectors, or office staff need separate logins. Inspection limits matter when usage changes seasonally or across teams. Check whether a plan sets a cap, charges by user, or groups access under one subscription. Then compare what happens when your team grows or inspection volume rises, rather than judging only your current needs.
When comparing features, match each one to a real task. PHOTO iD includes photo labeling, custom templates, report generation, team collaboration, and remote capture. If your team already uses a separate scheduling tool, focus on the documentation features that address its current bottlenecks, such as manual photo labeling or report preparation.
Before choosing, review the subscription period, renewal terms, cancellation process, and any limits on stored documents. Confirm how changes to seats or inspection volume affect billing. A practical comparison checklist:
- List required users and expected inspection volume.
- Match plan features to current operations.
- Check upload, storage, and report-writing limits.
- Compare billing terms and options for scaling.
Choose the plan that fits today’s workflow and can adapt as your team’s needs change.
AI photo analysis and voice-to-text findings
AI tools can help inspectors connect visual evidence with written findings. Start with one image, such as a cracked windowpane. Review whether the software suggests a useful category, identifies relevant details, or drafts report language. Treat each suggestion as a starting point. The inspector still needs to verify the condition and describe it accurately.
Voice-to-text tackles another bottleneck: capturing observations while moving through a property. Speak a concise note, such as “loose handrail at upper landing,” then review the transcription before adding it to the report. Check whether the workflow keeps each note connected to its photo and inspection category. That connection matters more than an advanced feature label.
For report writing, compare how AI suggestions and spoken notes move into the final document. Does the software let you edit a draft, choose a report category, and retain your original observation? A practical solution should support the inspector’s judgment, not replace it. Accuracy depends on clear descriptions, careful review, and matching evidence to the correct finding.
Compare platforms, including Spectora, by testing the same workflow rather than relying on feature names. Capture a sample photo, dictate a finding, review any AI output, and see how each step affects the finished report. If a free trial is offered, use it to test this sequence before choosing a subscription. Focus on the actual handoffs between capture, transcription, editing, and report completion.
- Check whether AI suggestions can be edited before publication.
- Test voice recognition with property-specific terms and room names.
- Confirm photos, dictated notes, and report categories stay connected.
- Compare the final report with your original inspection notes.
See how voice-to-text findings fit your workflow and evaluate the steps from spoken note to report.
PHOTO iD: PHOTO iD Mobile App Subscription
PHOTO iD’s mobile app subscription suits teams that want photos, labels, and reporting in one workflow. Automated photo labeling helps organize images, while instant photo report generation turns inspection documentation into a report. Custom inspection templates let you shape the workflow around the information your team records.
Choose this option if you want a focused way to manage photo documentation and move from field capture toward a finished report. It brings together practical steps that otherwise can involve sorting images, adding labels, and assembling findings. Explore PHOTO iD’s mobile app or contact PHOTO iD to learn more.
Build a Workflow That Scales With You
Choose a setup that supports the way you inspect and gives you room to refine your process. Map one inspection from field capture through report delivery. Note where your team switches tools, repeats data entry, or pauses to organize photos. These handoffs show whether home inspection photo management software can simplify daily work or add unnecessary steps.
Set a practical starting point: decide who will use the platform, which workflow steps need attention first, and how you’ll assess whether it suits your team. PHOTO iD’s custom templates, photo labeling, and report tools can support a gradual change, without requiring you to overhaul every process at once. Let your inspection routine guide the decision, not a long feature list.
Ready to discuss a workflow that fits your inspection needs? Start a conversation with PHOTO iD and take the next step toward more organized field documentation.
Frequently Asked Questions
What features should home inspection photo management software include?
Home inspection photo management software should connect image capture with inspection documentation. Look for clear photo labels, voice-to-text notes, customizable workflows, and report creation. For example, an inspector documenting a damaged outlet should be able to label its image and connect it to the right inspection record. When several team members handle property files, consider security features such as multifactor authentication, which PHOTO iD provides.
What are the best home inspection software options for managing photos?
The right option depends on whether you work alone, share assignments with a team, or need a particular reporting workflow. Compare tools using the same sample inspection: capture images, label findings, organize files, and create a report. PHOTO iD offers a mobile app subscription with photo organization, custom templates, and report tools. Judge each platform by how smoothly it supports your actual workflow, not by feature count alone.
How much does home inspection photo management software cost in the United States?
There’s no single price for every platform or inspection workflow. Subscription costs can depend on the plan, user access, included features, usage limits, and billing period. Compare the total for the users and tools you’ll actually need, then review renewal terms and potential add-ons. Avoid judging by a monthly headline alone; match the subscription structure to your expected workload.
How do photo limits, storage, and cloud backup compare across inspection software plans?
Distinguish photo capture allowances from cloud storage and report limits when comparing plans. PHOTO iD includes unlimited photo and video capture, unlimited cloud storage, and unlimited photo reports. To assess any platform’s workflow, also consider how files sync across devices and how you would restore access after a lost device or accidental deletion.
Which home inspection software supports offline photo capture and syncing?
Choose an inspection app that saves photos without a connection and syncs them when connectivity returns, preserving each photo’s category.