
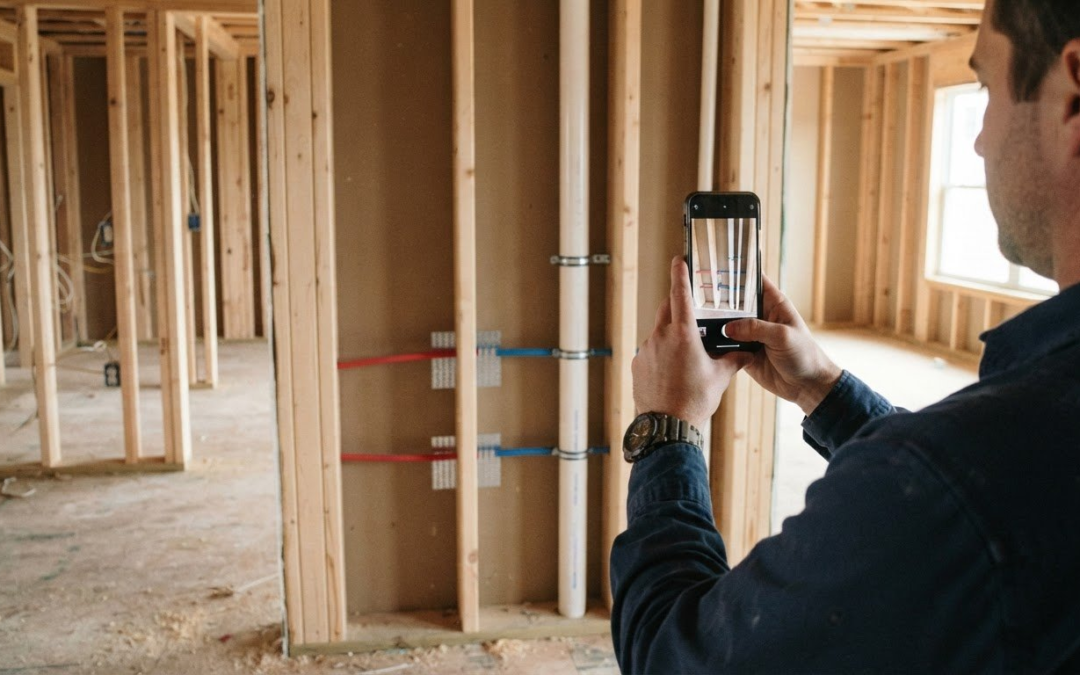
A jobsite photo without context can create more digging, not less. Construction photo documentation means capturing and organizing images so each record connects to its project, work phase, date, and location. A contractor photo documentation app can centralize those images and, depending on its features, add timestamps, GPS coordinates, and camera direction.
You need more than a camera roll when you’re tracking progress, recording conditions, or sharing clear updates with a team. Compare how jobsite apps handle photo reports, reusable templates, labeling, location data, and field access, then match those capabilities to the way your crews work. This guide explains what construction photo documentation includes, which features make records easier to find and share, and how different app options compare, so you can choose a practical fit without adding complexity to the workday.
Key Takeaways
- Organize jobsite photos by project, team member, and date to make field records easier to retrieve.
- Compare report and template tools to see how efficiently each option turns site images into shareable documentation.
- Understand how timestamps, GPS coordinates, and camera direction add context to a photo record.
- Match app features to your team’s workflow, then consider PHOTO iD for automated photo labeling, custom inspection templates, and instant photo reports.
What is construction photo documentation?
Yes. A contractor photo documentation app can organize photos by project, location, and date, and connect images with reports and field workflows. PHOTO iD adds real-time image labeling, voice-to-text captions, customizable inspection templates, and instant photo report generation.
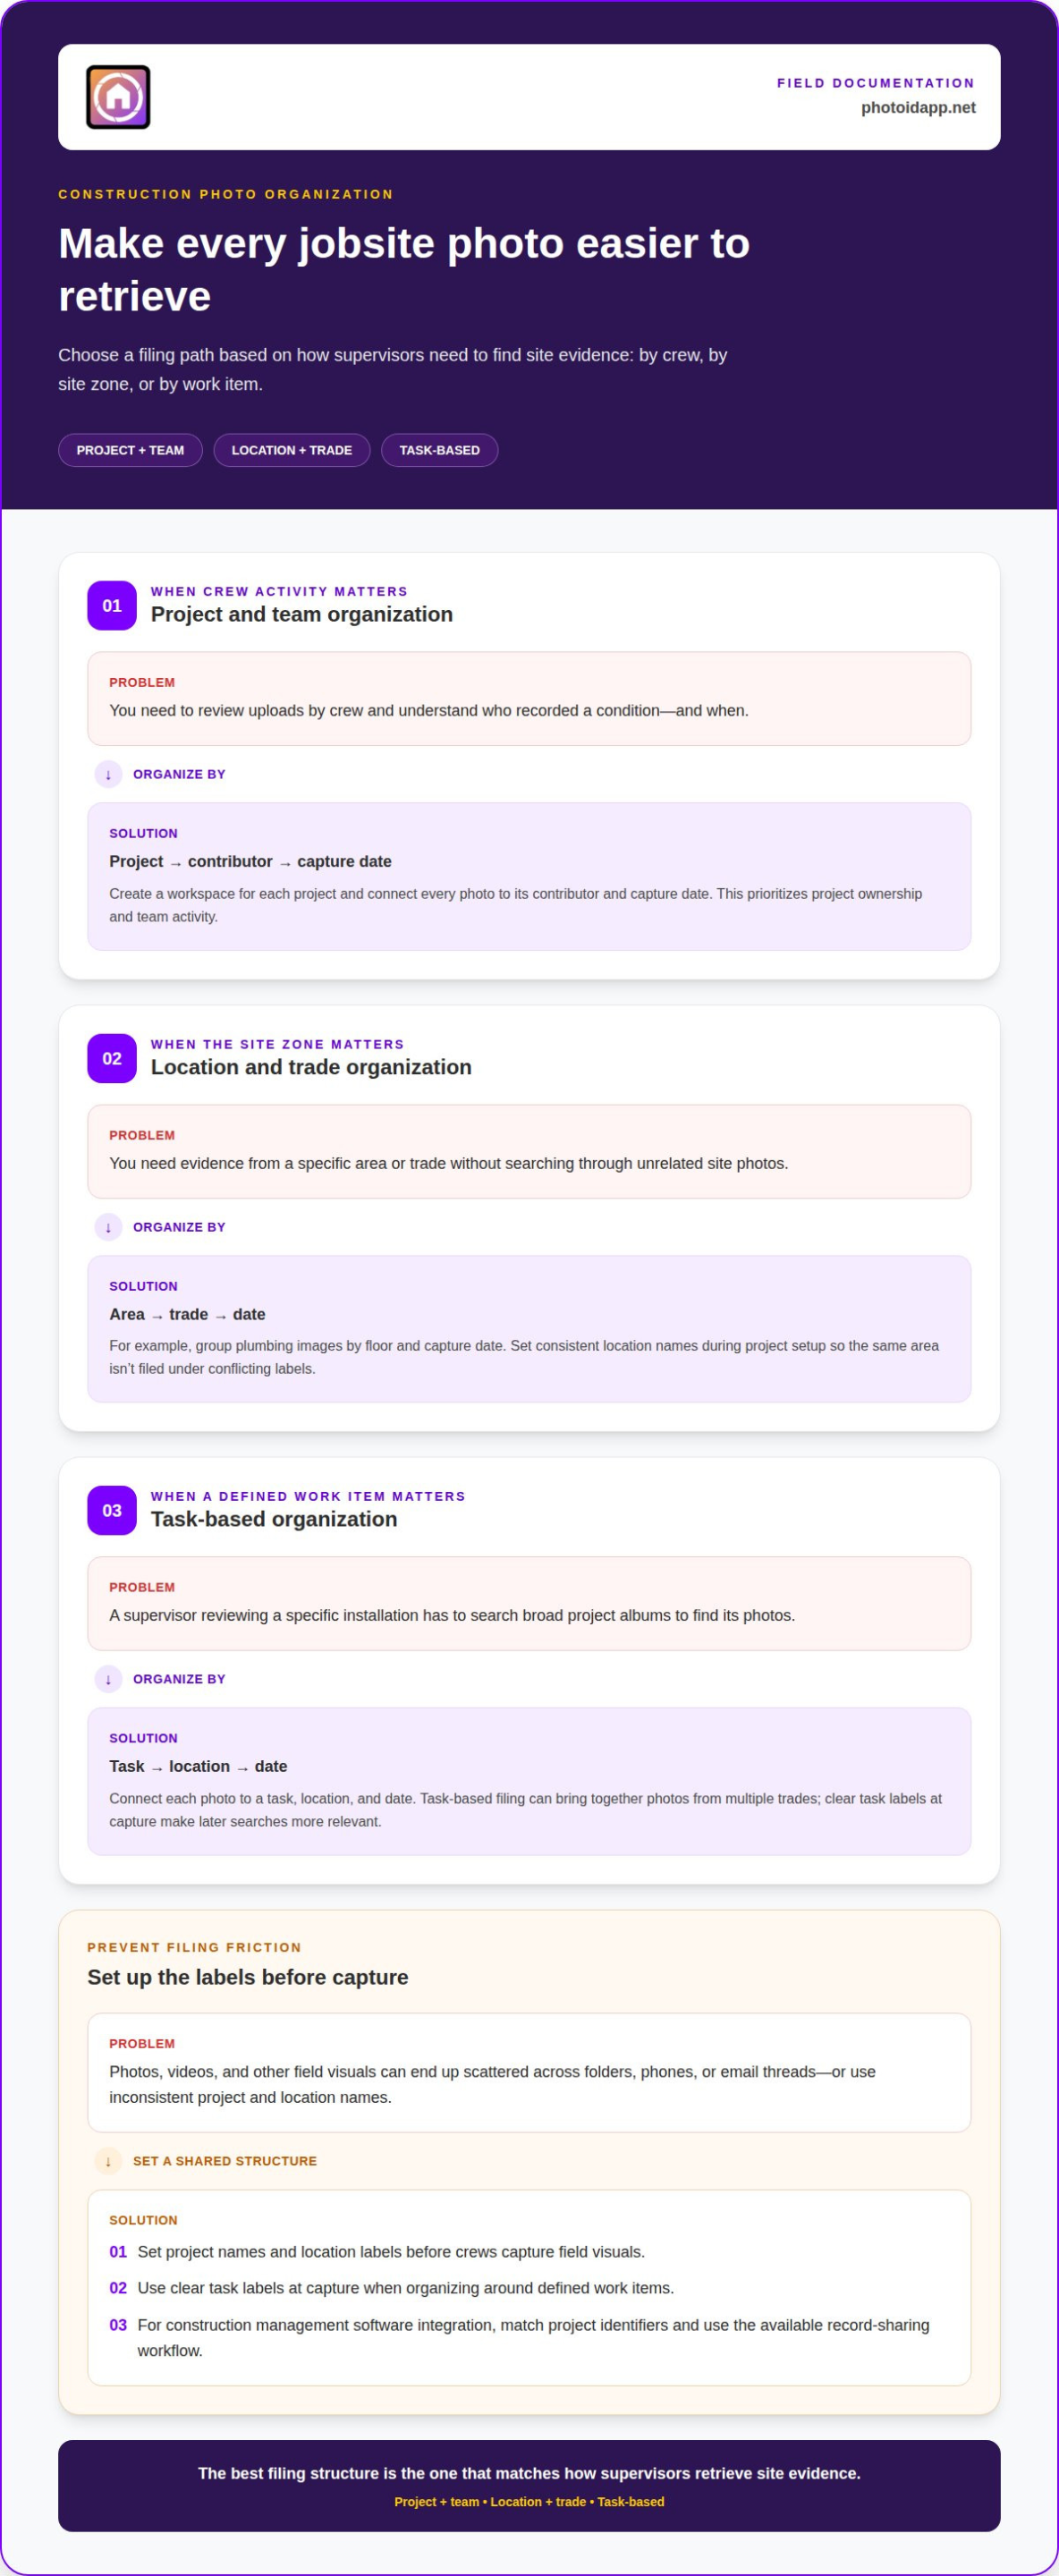
| Organization option | Sort by | Useful for |
|---|---|---|
| Project and team | Project, contributor, date | Reviewing uploads by crew |
| Location and trade | Area, trade, date | Finding work by site zone |
| Task-based | Task, location, date | Following specific work items |
Choose a filing structure that matches how supervisors retrieve site evidence.
Project and Team Photo Organization
Create a workspace for each project, then connect every photo with its contributor and capture date. This makes it easier to see who recorded a condition and when. Unlike location-first filing, this method prioritizes project ownership and team activity. PHOTO iD’s real-time labeling and voice-to-text features can reduce manual sorting after a shift.
Location and Trade Photo Organization
Sort site photos by building area, trade, and date when crews need evidence from a specific zone. For example, group plumbing images by floor and capture date. This method answers “where and which trade?” before “who uploaded it?” Set consistent location names during project setup so crew members don’t file the same area under conflicting labels.
Task-Based Photo Organization
Connect each construction photo to a task, location, and date to track a defined work item. A supervisor reviewing an installation can find its images under that task instead of searching broad project albums. Unlike trade sorting, task-based filing can bring together photos from multiple trades. Use clear task labels at capture so later searches return relevant records.
Field Media and Software Integration
Set project names and location labels before crews capture photos, videos, or other field visuals. Dedicated software centralizes media that might otherwise sit in separate folders, phones, or email threads. To connect it with construction management software, use matching project identifiers and the available record-sharing workflow. This keeps field media easier to locate alongside project information.
Construction photo reports and templates
Look for photo annotation and report tools that let crews pair images with useful notes. Customizable layouts, daily report attachments, and sharing options can make progress clearer to everyone involved.
Customizable Construction Photo Reports
A customizable report combines jobsite images with metadata, plan sheets, and fields suited to the project. Set a consistent order for location, work status, and notes, so reviewers can scan visual evidence without sorting through unrelated details. This differs from a daily report attachment, which adds photos to a broader work record. For client progress reporting, a platform’s portal can give project members a shared place to review updates.
Daily Report Photo Attachments
Attach photos to the matching daily report to connect visible conditions with that day’s work. For example, place images of a completed installation beside the report entry describing the task. Add a short annotation to identify the area or explain what the image shows. Unlike a standalone photo report, this format keeps images alongside other daily updates, helping team members follow progress in context.
Branded PDF Report Generation
Some documentation apps generate branded PDF reports for sharing with clients and project teams. A clear PDF can group images with captions, dates, and project details, creating a portable record that’s easy to review outside the app. Compare how each platform arranges visual evidence and whether its report layout suits your updates. If you want to streamline photo reporting, explore photo report workflows.
Timestamps, GPS coordinates, and cardinal direction
Apps that capture date, time, and geolocation metadata can create timestamped, GPS-tagged photo records. Compare how each option displays that information, including camera bearing, which indicates the direction the camera faced.
Automatic Timestamps and Watermarks
An automatic timestamp records when a mobile device captured an image, while a visible watermark places information directly on the photo. These serve different purposes: metadata supports sorting and review, while a watermark stays visible when someone views or shares the image. Check whether the app offers both, and choose which details belong on the image itself.
For example, a crew might use timestamps to arrange progress photos chronologically, then apply a project label as a watermark. Keep visible stamps concise so they don’t obscure site conditions. Treat the original image and its metadata as the record; a visible label is a quick reference, not a substitute for the underlying details.
GPS-Tagged Photo Records
GPS tagging adds location context to a construction photo, such as latitude and longitude; some apps can also include elevation and bearing. Bearing shows the direction the camera faced, adding context when teams compare images from nearby areas. A timestamp serves a different purpose: it records when capture occurred, not where or which way the device pointed.
Review which location fields appear in the app and report. A photo linked to a floor or site area can be easier to interpret than coordinates alone. If crews capture multiple views of one work area, consistent location labels help distinguish each image while GPS metadata supports location tracking.
GPS and Timestamp Verification
Verification means reviewing recorded details for consistency, not assuming every metadata field proves a condition. Compare the timestamp with the work sequence and the GPS location with the project area. For instance, a photo intended to document a particular site zone should align with that zone’s location record. Check whether the app displays coordinates and capture time together.
Before relying on instant sorting, confirm the device’s date and time settings and review location permissions. Then inspect a sample photo in the app and its generated report. Look for matching dates, readable coordinates, and a bearing where available. This review shows whether the metadata supports your team’s documentation workflow.
Jobsite photo documentation software comparisons
Compare software by the evidence your crew needs to capture, share, and retrieve. A camera app, project platform, 360-degree capture tool, and drone workflow serve different jobsite needs.
For U.S. jobsites, privacy and legal considerations depend on image content, access, retention, and applicable rules. Software alone doesn’t settle those questions. Limit access to appropriate team members and manage how images are stored and shared.
| Software approach | Strength | Compare for |
|---|---|---|
| Photo documentation app | Organized site photos | Labels, templates, timestamps |
| Construction management platform | Project records | Photo attachments, sharing |
| 360-degree capture tool | Multiple site perspectives | Image viewing and scanning |
| Drone or GIS workflow | Aerial project context | Mapping and data handling |
Use the comparison to identify the evidence each approach creates. A photo app can organize images and support annotations; a construction management platform may connect photos with other project records. A 360-degree tool captures site conditions from multiple perspectives. GIS workflows and drone-captured data add a different layer of project monitoring.
Next, compare the field workflow. Voice-to-text can help crews add comments hands-free, while offline access matters when a jobsite has limited connectivity. Measurement tools and time-lapse photography suit teams tracking dimensions or visible progress. Real-time sharing lets multiple team members contribute to visual documentation.
Test the retrieval path, not just the capture screen. Find a photo by project, date, or GPS coordinates, then check whether its notes and context stay attached when shared. This matters during a dispute that surfaces six months after work, when a clear record can make the original site condition easier to review. Choose templates and reporting features around the evidence your team must produce, not the longest feature list.
Photo documentation apps can organize photos with timestamps and support finding them by GPS coordinates.
PHOTO iD: PHOTO iD Mobile App Subscription
PHOTO iD’s PHOTO iD Mobile App Subscription brings photo labeling and report creation into one field documentation workflow. Choose it when your team wants to organize inspection images and turn them into structured reports without relying on scattered manual filing. Automated Photo Labeling helps label images, while Instant Photo Report Generation creates reports from the documentation. Custom Inspection Templates let teams shape reports around their inspection workflow.
Use these tools to connect captured images with a repeatable process: label, organize, and report. Templates are especially useful when crews need consistent documentation across recurring inspection types. PHOTO iD suits teams looking to organize property photos and prepare reports efficiently. Contact PHOTO iD to discuss how the app fits your documentation workflow.
Make Your Next Jobsite Record Easier to Use
Choose a workflow your crew can repeat during a busy shift, not just one that looks complete in a feature list. Start with a current project and define what a useful photo record should help someone understand later. A clear capture routine can make field documentation more consistent across the team.
Then match the software to that routine. PHOTO iD combines a mobile app subscription, Automated Photo Labeling, and Instant Photo Report Generation for teams building a more structured documentation process. Consider whether those tools fit the way your crew captures and shares project information.
A contractor photo documentation app should support the records your team actually needs, from field capture through report review. Keep the next step simple: discuss your workflow and the documentation challenges you want to address. Contact PHOTO iD about jobsite photo documentation, and take the next step toward a clearer, more consistent process.
Frequently Asked Questions
Can I just use regular cloud storage instead of dedicated software?
Yes, regular cloud storage can hold jobsite images, but your team must create and maintain its own filing system. For example, set up a folder for each project, then use consistent filenames for the area and work item. Dedicated software connects photos with field workflows and reports. Choose based on whether simple file storage or structured documentation better fits your team.
Do I have to download a project before going to a site with no connection?
Prepare project information and reference files before entering an area without service. PHOTO iD supports remote capture and team collaboration, and its mobile and web apps help keep project documentation organized. Open the project while connected and confirm the information your crew needs is accessible. This preparation helps avoid relying on a live connection during capture.
How can I track site progress effectively?
Choose repeatable viewpoints and capture the same work areas at consistent project milestones. For example, photograph a room before work begins, during installation, and after completion. Pair each image with a short status note, such as “in progress” or “complete.” Reviewing the sequence makes changes easier to spot and gives team members a shared visual reference for project updates.
How is offline jobsite documentation different from online?
Offline documentation lets crews capture or review information without an active connection, while online work can share updates through connected systems. The key difference is when others can access new records. A crew documenting inside a dead zone may need to wait until connectivity returns before teammates see those updates. Plan handoffs around that delay so no one assumes an offline entry is already shared.
What happens to photos taken offline?
In an app that supports offline capture, photos are stored on the device and sync when connectivity returns. Until syncing completes, they may not appear to coworkers using another device. Keep the app open or follow its sync process after reconnecting, then confirm the new images appear in the project record. This closes the gap between field capture and team access.
What’s the best option if I need documentation that holds up in a dispute or claim?
Use a consistent process that preserves original photos and records capture context, work notes, and project details. Add clear annotations without altering what the image shows, and keep related daily records together. Limit editing and maintain an organized history of who captured or updated documentation. These practices create a clearer record for review, but no app alone determines how evidence will be treated.