
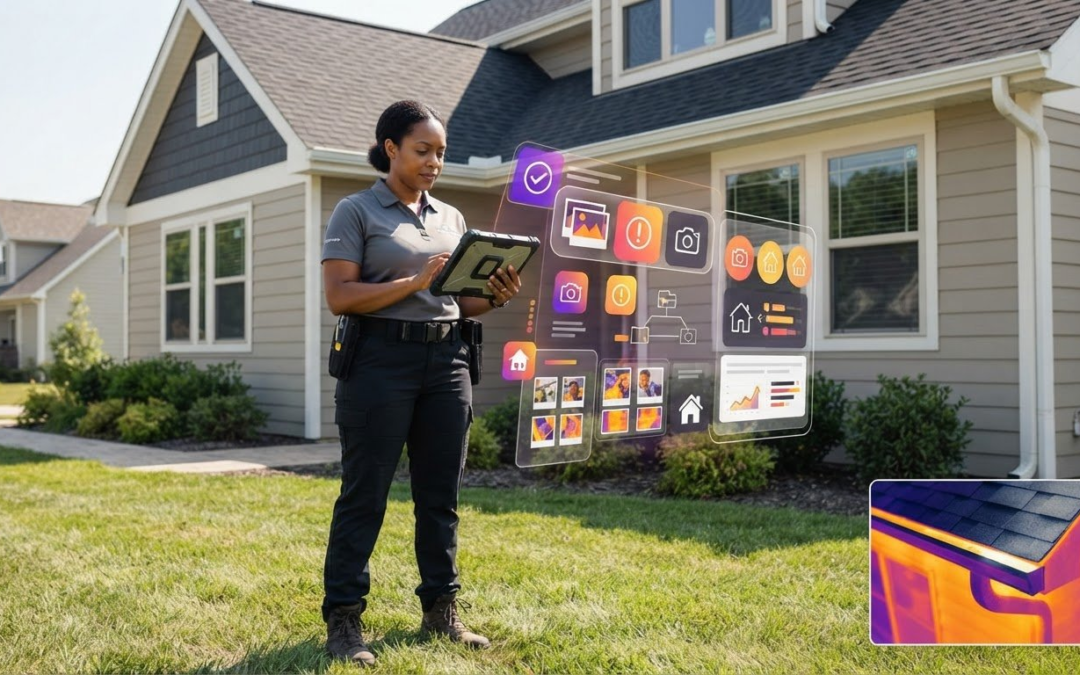
An inspection doesn’t end when you leave the property. AI property inspection software can help teams organize field notes and photos, draft structured reports, and keep documentation moving on mobile. Tools may use machine learning, computer vision, or natural language processing to support these tasks, while the inspector remains responsible for evaluating the property and its findings.
On-site work already demands your attention. Sorting images and polishing reports afterward adds another layer of effort. The right tools connect what you capture in the field with what clients see in the final report, without replacing your professional judgment.
Explore how AI can assist with report writing, photo defect categorization, and mobile inspections, plus the factors that shape software pricing decisions. You’ll also learn what to look for in a platform, where automation can help most, and how to choose a workflow that fits your team’s day-to-day inspections.
Key Takeaways
- See how AI can turn notes and inspection photos into structured report drafts while keeping the inspector in control of the final findings.
- Learn what machine learning, computer vision, and natural language processing can contribute to property inspections.
- Understand how photo analysis can flag potential defects, and why every alert still needs professional review.
- Compare software plans by the workflow needs that matter, including mobile use, team collaboration, and reporting tools.
- Explore ways to capture and organize documentation on site, then carry it into a clear, consistent report.
AI-assisted home inspection report writing
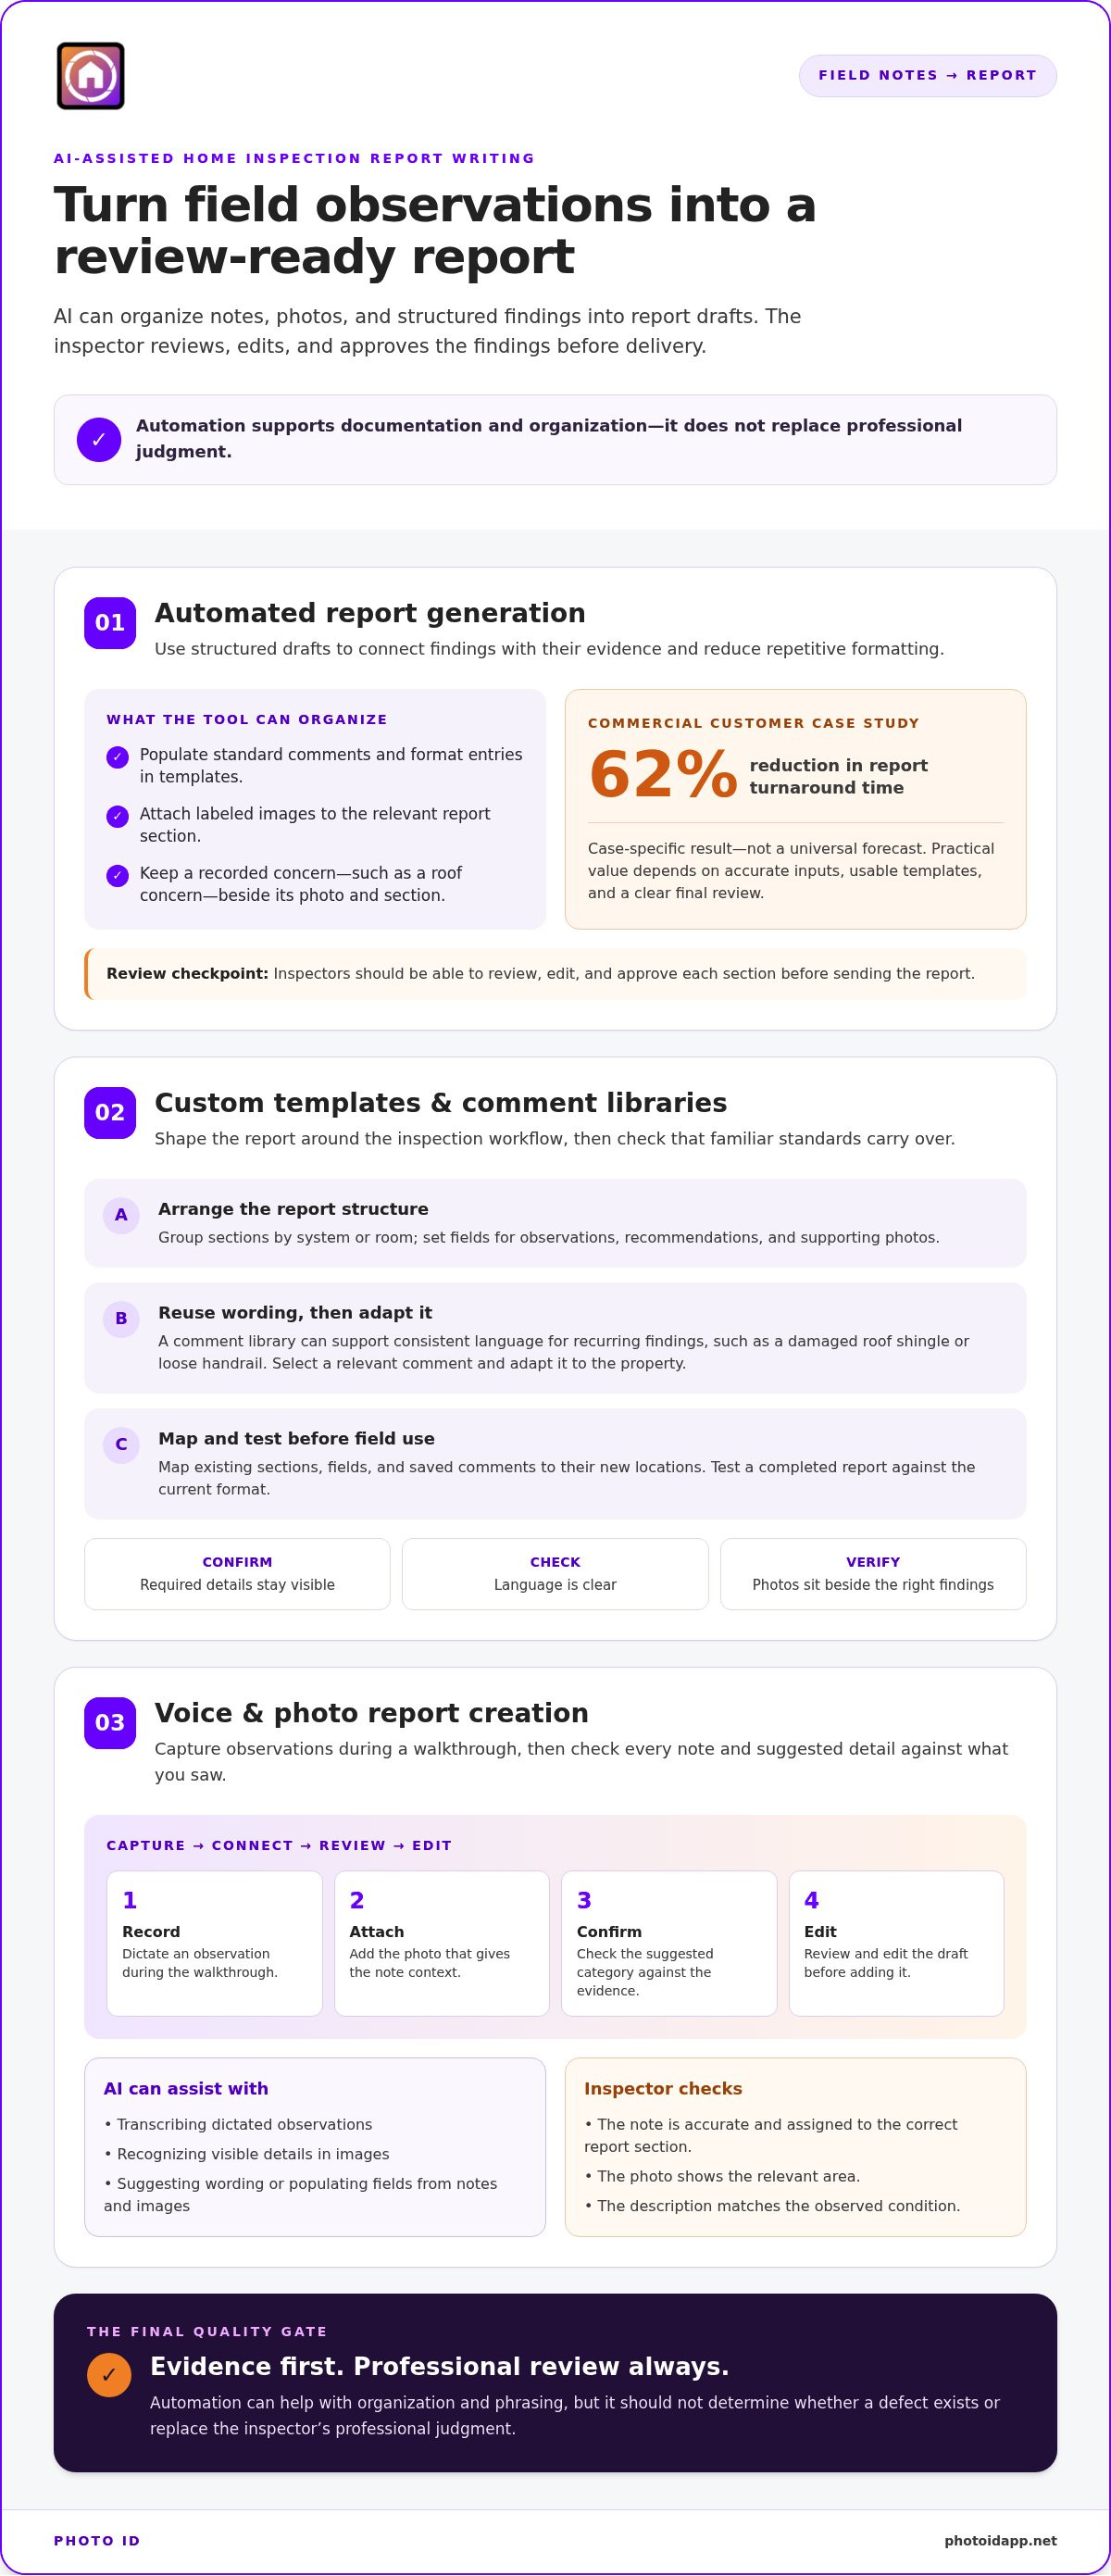
AI tools can turn inspection notes, photos, and structured findings into organized report drafts. Use them to speed up documentation, then review every observation before delivery.
Automated Report Generation
Automated report generation organizes inspection findings into a report structure. AI can populate standard comments, format entries in templates, and attach labeled images. For example, a recorded roof concern can appear beside its photo and the relevant report section. This reduces repetitive formatting while keeping each finding connected to its evidence.
Look for a workflow that lets inspectors review, edit, and approve each section before sending. A commercial customer case study reports a 62% reduction in report turnaround time. Treat that as a case-specific result, not a universal forecast. The practical value depends on accurate inputs, usable templates, and a clear final review.
Custom Templates and Comment Libraries
Custom templates shape reports around your inspection workflow. Arrange sections by system or room, then set fields for observations, recommendations, and supporting photos. A comment library can provide consistent wording for recurring findings, such as a damaged roof shingle or loose handrail. Inspectors can choose a relevant comment and adapt it to the property.
Plan report migration before using new software in the field. Map existing sections, fields, and saved comments to their new locations, then test a completed report against your current format. Confirm required details remain visible, the language is clear, and photos appear beside the right findings. This helps teams preserve familiar standards while improving consistency.
Voice and Photo Report Creation
Voice-to-text tools let inspectors dictate observations during a walkthrough. For example, they can record a note about a stained ceiling, review it for accuracy, and assign it to the correct report section. Photos add context. Some systems use image recognition to identify visible details, while AI can suggest wording or populate fields from notes and images.
Use a simple capture-and-review process: record the observation, attach the related photo, confirm the suggested category, and edit the draft. Check that the photo shows the relevant area and the description matches what you observed. Automation can help with organization and phrasing, but it shouldn’t determine whether a defect exists or replace professional judgment.
What Is AI Property Inspection Software?
AI property inspection software combines digital inspection records with tools such as machine learning, computer vision, and natural language processing. For field teams, its value depends on how mobile capture, property-specific workflows, and shared access work together.
Property Types and Inspection Settings
Single-family inspections often organize findings by system and room, such as roofing, plumbing, or a kitchen. Multifamily and student-housing workflows also need to distinguish buildings, units, and shared spaces. A useful setup lets inspectors record a unit-level observation without mixing it up with an issue in a hallway or common area.
Landlords and property managers often track recurring maintenance across units, while home inspectors document a specific property for a buyer or seller. Student housing adds turnover workflows, such as recording a room’s condition before a new resident moves in. Compare templates, location labels, and comment fields with the needs of each inspection type.
Mobile and Offline Collaboration
A mobile workflow lets inspectors capture photos, notes, and comments at the property instead of reconstructing details later. Offline access can matter in basements or buildings with weak connectivity. If software supports offline capture, check how records sync and how it handles conflicting edits.
For teams, permissions should define who can create, edit, review, or share a report. One inspector might document a roof while another records interior systems, then a reviewer consolidates the findings. Team pricing can depend on user seats, permission levels, or included capabilities. Compare plan structures with your staffing model.
Compliance, Risk, and Integrations
AI property inspection software doesn’t guarantee compliance with U.S. housing, privacy, or inspection regulations. Compliance depends on applicable rules and how teams handle records and personal information. Accuracy also varies with image quality, context, and finding type. Treat image flags as prompts for review, not verified defects.
Image recognition may perform unevenly across different materials or conditions. Liability concerns can grow if teams accept automated conclusions without inspection. Keep a human review step and preserve original photos alongside edited comments. Integrations with property management or maintenance systems depend on available connections and data formats. Map fields such as unit, finding, and work order before adopting a shared workflow.
To evaluate AI property inspection software, test a representative property record from field capture through team review. A mobile inspection workflow can help organize that process; explore mobile inspection workflows.
AI photo analysis and defect categorization
During an inspection, open the property record, photograph each concern, and attach it to the relevant room or system. Review AI-suggested categories and descriptions against the visible evidence before adding them to the documentation.
For home inspectors, the goal is to make photos easier to find, interpret, and connect to findings. Consistent capture habits help make that workflow practical.
Photo Capture and Markup
Take a wide view to establish the location, then a closer image that shows the concern. For a cracked tile, photograph the bathroom floor first, then the crack itself. Add a label or markup to point to the exact area without hiding the condition. A brief note can add context, such as whether the tile is loose or simply marked.
Use consistent room and system labels across property inspections. Before moving on, confirm each photo is sharp, correctly oriented, and attached to the right finding. This quick review helps prevent a clear image from becoming confusing report evidence.
Photo Syncing and Defect Categorization
Photo syncing connects field images with inspection records and report sections. Organize images by property, room, and system so a reviewer can find a kitchen leak without sorting through unrelated roof photos. When a team works across devices, check how the software handles edits and attachments after syncing.
Some home inspection software uses image recognition to flag cracks, stains, or possible moisture damage. Treat each flag as a prompt to inspect the image, not a confirmed diagnosis. Compare the suggested category with the photo and your on-site observations, then correct the label or add context before it goes into the report.
Build a repeatable capture sequence for each finding: record the location, take an overview, photograph the detail, and add a concise note. For example, a photo of a ceiling stain needs enough room context to identify its location and a close view of its appearance. This sequence helps inspectors and reviewers connect evidence to the right area.
Photo analysis depends on what an image actually shows. Glare, shadows, a blocked view, or a distant subject can make a feature harder to interpret. Retake unclear images from a better angle, and preserve the original alongside any marked-up copy. Markups should direct attention, not alter or obscure the evidence.
Inspection photos and videos serve different documentation needs. A still image can isolate a small crack, while a video can show a moving component or a sequence of conditions. Tie each item to a specific location and observation. Before finalizing, review the set in report order and remove duplicates that add no useful detail.
Inspection software pricing and plans
Compare plans by the work they let your team do, not by feature count alone. Before reviewing costs, map your inspection volume, users, and required workflows.
Home Inspection Software Pricing
Home inspection software pricing can depend on user seats, reporting tools, photo storage, and included support. A solo inspector may need mobile reporting and reusable templates, while a team may also need shared access and review permissions. Compare each plan’s features with the tasks your team currently handles manually.
Make a short requirements list before comparing providers. Include report creation, photo organization, scheduling, integrations, and data migration. Separate essential functions from occasional needs, such as advanced customization. This helps reveal whether a lower-cost plan lacks a key workflow or a larger package includes tools your team won’t use.
Pricing Plans and Free Options
Plans may use subscriptions, user-based tiers, or feature-based packages. Where available, free options can help teams test a workflow, but access may be limited by users, reports, storage, or tools. Review what happens to saved inspections and exported reports if a trial or free tier ends.
Test the same sample inspection in each plan you’re considering. Add a room, enter a finding, attach a photo, and generate a report. Judge whether the process supports your actual field workflow, not just how the interface looks on a feature list. Note which functions require an upgrade before comparing overall value.
Pricing and Onboarding
Onboarding may involve importing existing reports, configuring templates, setting user permissions, and training inspectors. For example, a team moving from manual documents should test how its current report sections map to the new system. Ask how setup tasks fit into the subscription or implementation scope, and include staff time in your internal cost comparison.
For a tailored quote, pricing depends on the case and follows a quote request. Cost factors include user count, selected features, data migration, integrations, and onboarding needs. Compare these factors with the work the software will perform, such as organizing photos or reducing repetitive report entry. A clear scope makes plans easier to assess.
Estimate operational value without assuming guaranteed savings. Before adopting a plan, track time spent preparing reports, correcting missing details, and scheduling follow-ups. Repeat the review once your team has settled into the workflow. If report preparation remains manual, identify whether the cause is missing features, incomplete setup, or inconsistent field practices.
Mobile property inspections
A mobile workflow connects field capture with the report, narrowing the gap between seeing a condition and recording it. Build the process around the property route, the details to capture, and the handoff after inspection.
Start by matching the app’s templates to the way your team moves through a property. A single-family route might go from the exterior to the kitchen, bathrooms, and mechanical systems. A multifamily route may need labels for building, floor, unit, and shared areas. Clear navigation helps inspectors record findings in the right place instead of sorting notes later.
Capture each observation while it’s fresh. Add a short note, attach a photo, and connect both to the correct room or system. For example, document a loose stair rail under the relevant interior area, then photograph its connection point. Repeatable templates help different inspectors capture comparable details across similar properties.
Build a Field-to-Report Routine
A consistent routine makes mobile operations easier to manage. Set a clear sequence inspectors can follow at every property:
- Open the correct property and confirm its address or unit label.
- Choose the relevant room or system in the inspection template.
- Capture the condition with a note and supporting photo.
- Review the entry before moving to the next area.
For example, an inspector documenting basement moisture can record its location, add a photo, and note nearby conditions. That entry is more useful than an unlabeled image saved to the camera roll.
Plan for connectivity before fieldwork. A basement, utility room, or remote property may have weak service. Check whether the app supports offline capture and how records sync when connectivity returns. Test the process with a sample inspection: create an entry offline, reconnect, then confirm its note and photo appear together. This shows whether the workflow suits properties with unreliable coverage.
Mobile access can also support team handoffs. An inspector can finish field capture while a reviewer checks report entries on another device. Set permissions and review steps so edits stay organized and everyone knows which report is ready for delivery. For teams with multiple inspectors, shared templates can standardize capture without forcing identical observations for every property.
Measure where manual work remains. Note whether inspectors re-enter findings, rename photos, or search for missing details after leaving the site. These recurring tasks can point to improvements in templates, labels, or review steps. A well-designed mobile process brings field capture, documentation, and report preparation into one sequence.
Explore mobile inspection workflows to see how structured field capture can support your team’s process.
PHOTO iD: PHOTO iD Mobile App Subscription
PHOTO iD gives inspection teams a mobile workflow for organizing property photos and building reports. Automated Photo Labeling keeps images connected to inspection details, while Instant Photo Report Generation supports report creation. Custom Inspection Templates help structure the information your team captures across different properties.
PHOTO iD is a practical option when field documentation involves scattered photos, repetitive report formatting, or inconsistent templates. Inspectors remain in control: review labels and report details before sharing the finished document. A more organized capture-to-report process helps teams manage documentation in one workflow.
Explore PHOTO iD’s mobile inspection tools at photoidapp.net.
Make Your Next Inspection Workflow Count
Choose one recurring documentation bottleneck as your team’s first improvement target. It could be organizing images after site visits, keeping report layouts consistent, or moving field notes into a finished document. Define what a smoother handoff looks like, then evaluate how an updated workflow fits your inspectors’ actual routines.
PHOTO iD’s Mobile App Subscription brings inspection documentation into one mobile workflow. Automated Photo Labeling helps organize captured images, while Instant Photo Report Generation supports report preparation. Consider how these tools fit your team’s existing process, then decide which steps to improve first. The goal is practical: make field documentation easier to manage while preserving the inspector’s review and judgment.
Ready to explore a more organized inspection workflow? Contact PHOTO iD to explore inspection software and take the next step toward making AI property inspection software work for your team. Build a process that keeps your fieldwork moving and your documentation clear.
Frequently Asked Questions
How can I be sure tenants are accurately capturing all details and not missing or hiding anything?
No app can prove that a tenant recorded every condition or prevent deliberate omissions. Give tenants a room-by-room checklist, clear photo instructions, and a consistent naming process. PHOTO iD supports secure client or tenant uploads through a link. Review submitted images against the checklist, flag unclear areas, and arrange an independent follow-up when the record needs verification.
Why switch from manual inspections to AI-powered inspections?
Consider switching when manual entry, scattered images, or repeated formatting creates avoidable work. A digital workflow can connect a field note to its photo and report section, making records easier to review later. Start with one recurring inspection type. Compare how your team captures evidence, corrects missing details, and prepares the final record before and after introducing automation.
What is AI property inspection software and how does it work?
AI property inspection software uses tools such as machine learning, computer vision, or language processing to assist with inspection tasks. An inspector might capture a wall photo and note a visible stain; the system can help categorize the image or organize the note in a report. The inspector verifies the observation, corrects errors, and decides what the final documentation says.
How much does inspection software cost, and what plans are available?
Costs vary by provider, license structure, features, and onboarding needs. AI property inspection software may use user-based subscriptions, feature tiers, or custom enterprise plans. Compare assignment limits, included tools, and billing periods. Review trial terms and what happens to saved records if a trial ends, so your team can evaluate the workflow before choosing a plan.
What features should I look for in inspection software?
Match features to your team’s work. Look for customizable inspection templates, voice-to-text labeling, photo organization, report creation, and collaboration tools when several people handle an assignment. For example, inspectors can capture images while a reviewer prepares the final report. Also consider security controls, third-party integration, and whether records work across your devices.
Can inspection software detect damage, maintenance issues, and safety hazards from photos?
Some image recognition tools can flag visible patterns such as cracks, stains, or possible moisture damage. A flag is not a confirmed defect, maintenance diagnosis, or safety assessment. Image quality, lighting, and context affect what a system can identify. Treat alerts as prompts: inspect the condition, capture supporting context, and record your professional assessment separately.
What are the best inspection apps for mobile use and offline inspections?
The right app depends on field needs, device access, collaboration, and offline requirements. Compare how each tool captures images, organizes assignments, and handles records when connectivity is limited. PHOTO iD provides mobile photo labeling, templates, and report tools for field documentation. Assess offline support as a separate requirement when evaluating any inspection workflow.