
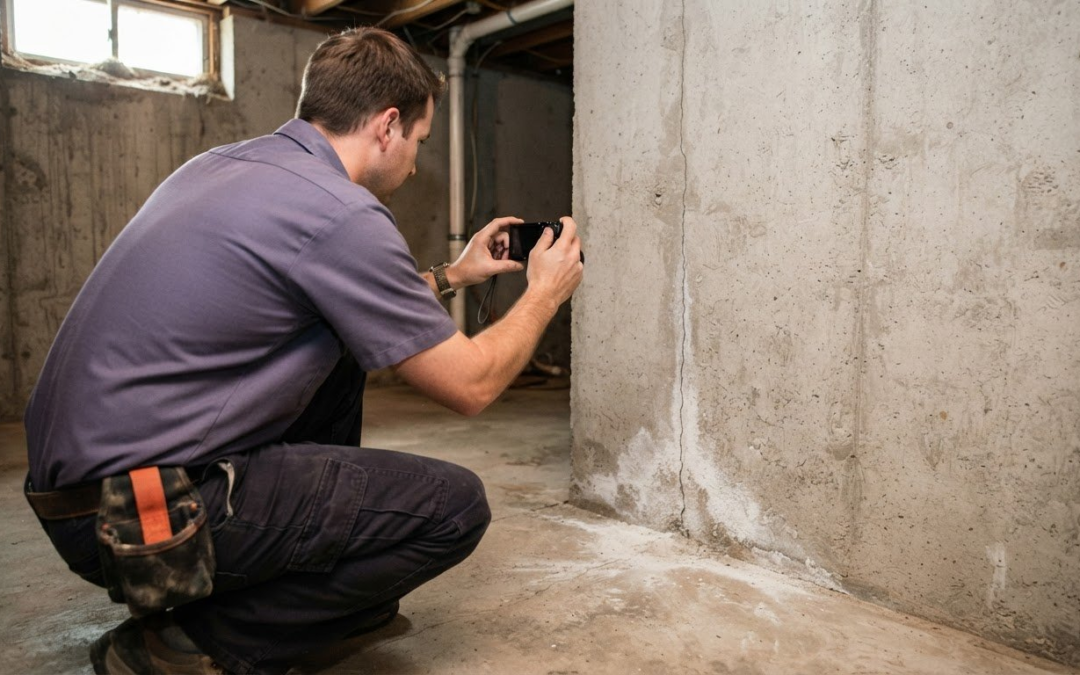
Learn how to document field inspections with photos by using a consistent checklist, capturing clear images of each finding, and adding notes that explain what each photo shows. Save photos, forms, and supporting documents offline when needed, then sync them when a connection is available. Organize each record by inspection and finding so you can retrieve it later.
Field records can quickly become a jumble of camera-roll images, scattered notes, and forms that are hard to match to the right issue. Knowing how to document field inspections with photos gives every detail a place, whether you’re onsite or reviewing the inspection later. This guide covers phone-friendly checklists, consistent photo capture, useful notes and documents, and offline workflows. You’ll also learn how searchable inspection histories help you find past findings and follow changes over time.
Key Takeaways
- Set checklist rules for which findings need photos, how many to capture, and what each image should show.
- Mark up photos to pinpoint defects and connect visual evidence to punch items, progress updates, or safety observations.
- Make inspection forms easy to use on phones and tablets, with photo requirements that appear when relevant findings are recorded.
- Organize records so you can filter by finding and locate past inspection details when you need them.
Offline field reports using photos, notes, and documents
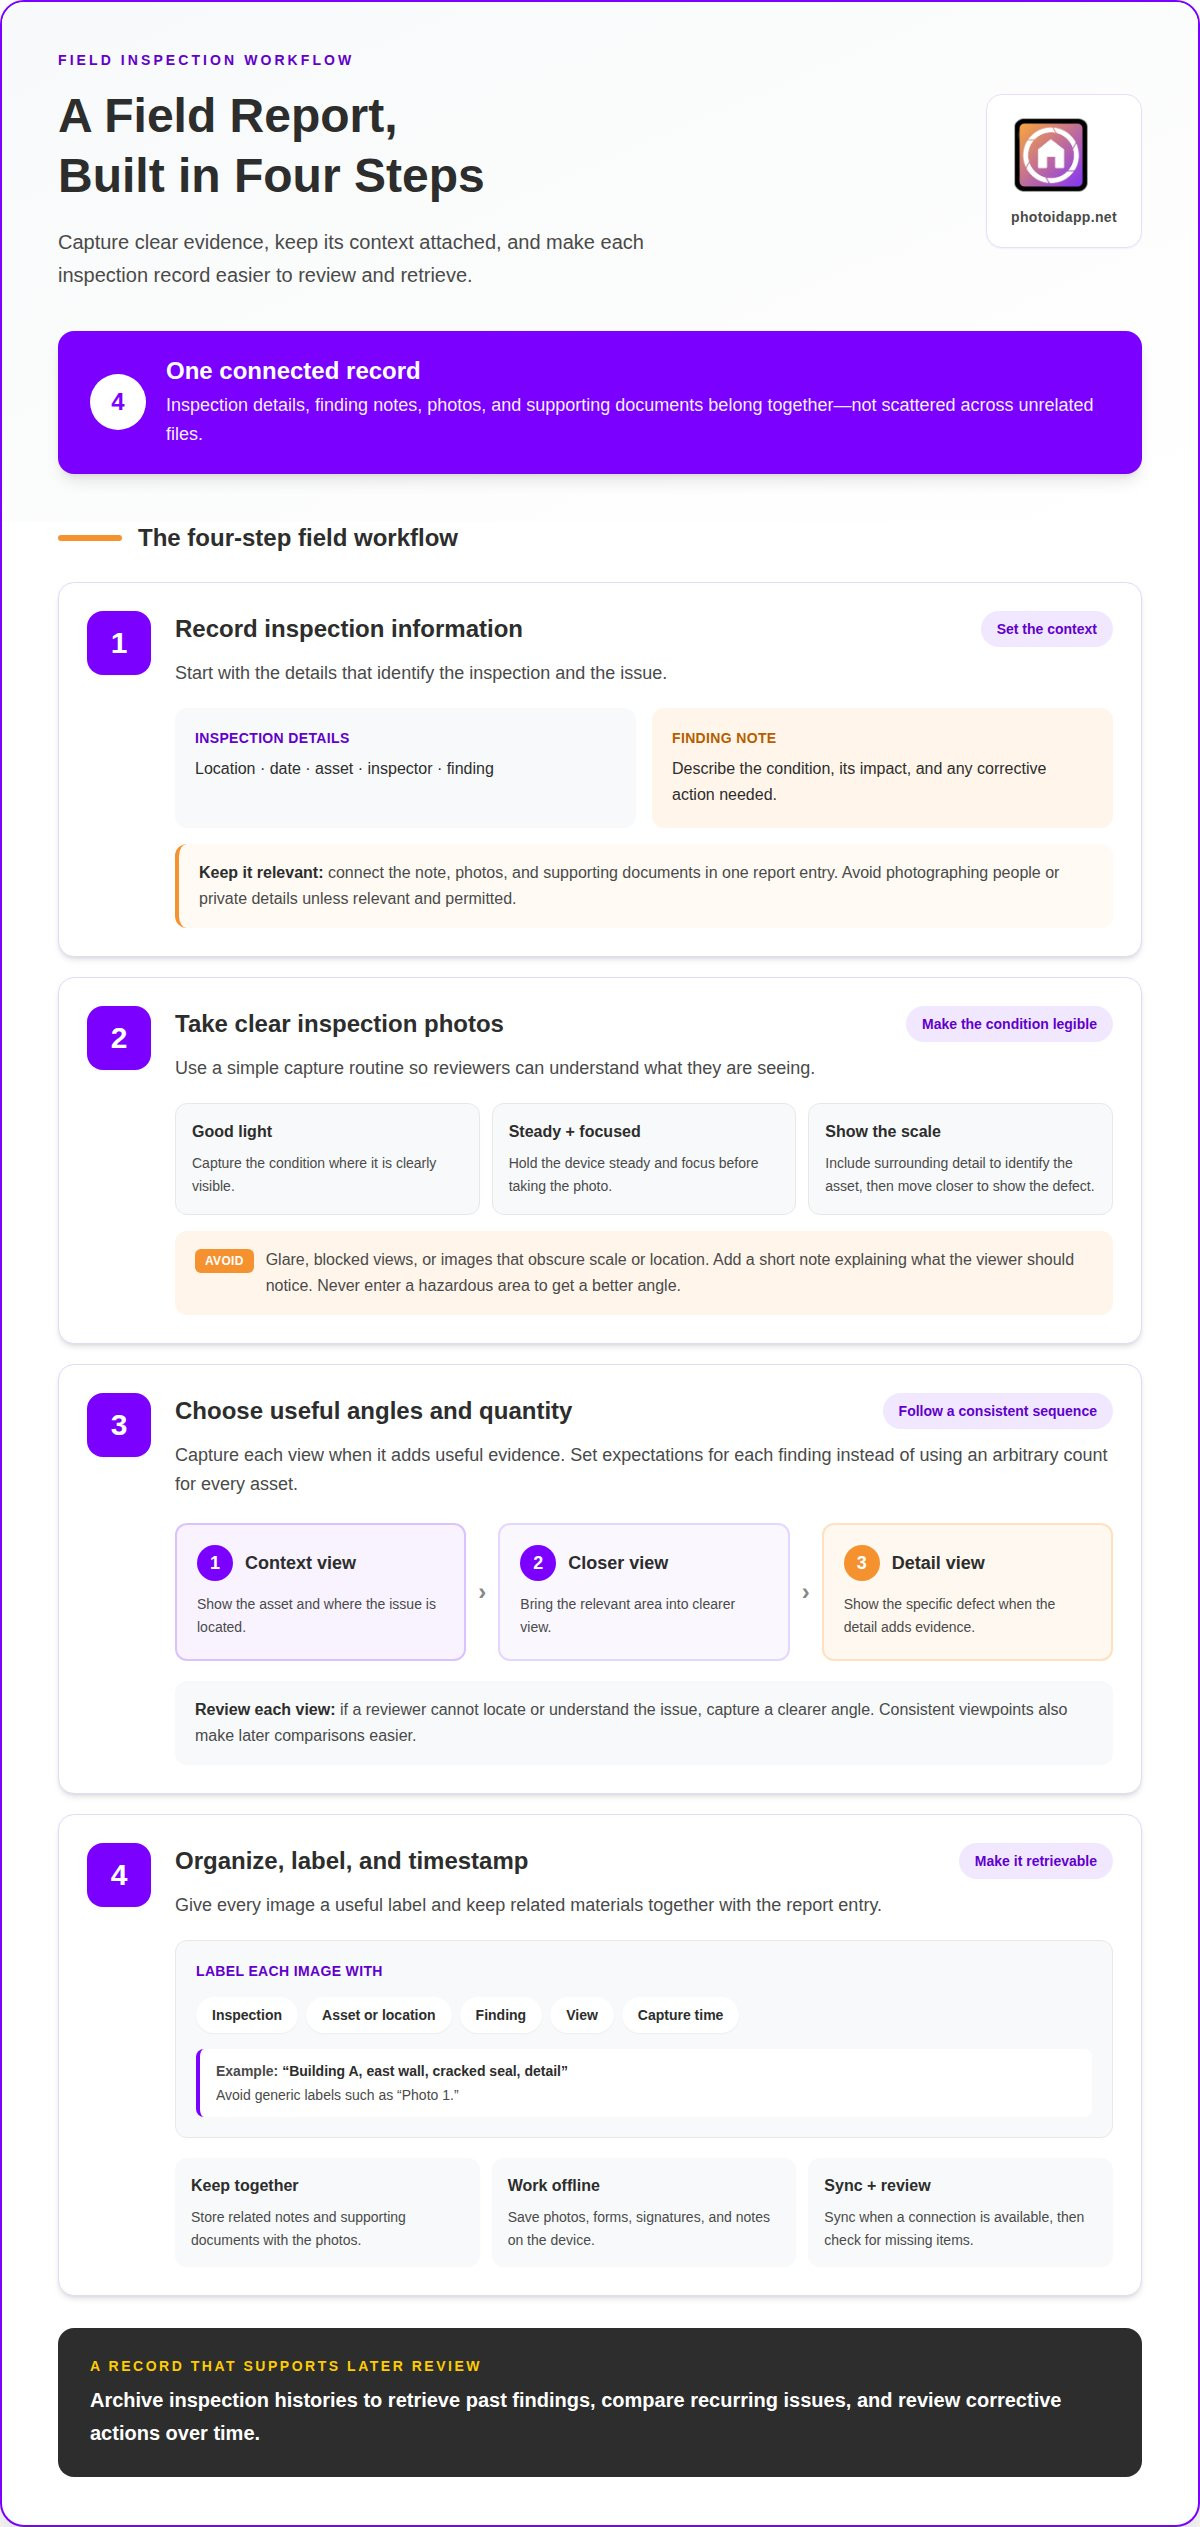
Build each report in four steps, from inspection details to an organized record. Capture offline, then sync when a connection returns.
-
Record Inspection Information
Start with the inspection location, date, asset, inspector, and finding. Add a concise note describing the condition, its impact, and any corrective action needed. In the United States, requirements depend on inspection type, contract, and applicable rules. Follow the retention and privacy requirements that govern the work. Avoid photographing people or private details unless they’re relevant and permitted.
Connect each finding’s note, supporting document, and photos in a single report entry. This gives reviewers the context they need without making them search through unrelated files.
-
Take Clear Inspection Photos
Capture the condition in good light. Hold the device steady and focus before taking the photo. Include enough surrounding detail to identify the asset, then move closer to show the defect. Avoid glare, blocked views, and images that obscure scale or location. Add a short note explaining what the viewer should notice.
Put safety first: don’t enter a hazardous area to get a better angle. If a document supports the finding, attach it to the same record.
-
Choose Photo Angles and Quantity
Use a consistent sequence: a context view, a closer view, and a detail view when each adds useful evidence. Inspection forms can specify how many photos to capture and what each should show. Set expectations for each finding rather than applying an arbitrary count to every asset.
Check that each view clearly shows the issue. If a reviewer can’t locate or understand it, capture a clearer angle. Consistent viewpoints also make later comparisons easier.
-
Organize, Label, and Timestamp Photos
Label each image with the inspection, asset or location, finding, and view. Record the capture time alongside the report entry, and keep related notes and documents together. Use a naming pattern such as “Building A, east wall, cracked seal, detail.” Avoid generic labels such as “Photo 1.”
Save photos, forms, signatures, and notes on the device when offline; sync them when possible. Then review the report and dashboard for missing items. Archive inspection histories to support later retrieval and trend analysis. A clear history helps teams compare recurring findings and corrective actions.
Digital inspection templates and checklists
Build a phone-friendly checklist around the decisions inspectors make on site. Use conditional photo prompts to capture evidence when a finding requires it.
- Start with the inspection sequence, not a long list of generic questions. Group fields by area or asset, such as roof, exterior wall, or mechanical equipment. Use clear labels and response choices inspectors can tap quickly on phones and tablets. Keep each prompt focused on one observation so the result is easy to review.
- Set photo requirements for findings that need visual evidence. For example, require an image when an asset’s condition is marked “Poor.” Make the prompt conditional so it appears only when the inspector records a relevant finding. This keeps routine entries moving while ensuring defects have supporting photos.
- Tell inspectors what each required photo should show. A checklist can request a context view of the asset, followed by a closer view of the issue. Set a photo limit for each field to guide uploads and keep evidence focused. Choose the limit based on the finding and the detail reviewers need, rather than applying the same rule everywhere.
- Test the template on the phones and tablets inspectors use. Complete a sample inspection from start to finish. Check that questions are readable, response options are clear, and conditional photo prompts appear only after relevant answers. Confirm that each photo attaches to the correct finding. Revise confusing fields before using the checklist across inspections. A reusable digital checklist can help standardize these steps; explore customizable inspection checklist workflows as one way to structure them.
Inspection forms should be optimized for use on phones and tablets in the field. Treat the mobile layout as a core requirement when shaping every field: keep the path through the form practical for on-site completion, and review it on the devices inspectors carry before settling the design. Inspection form photo limits can be configured to control the number of uploads allowed per field. Set those controls with the evidence expected for each kind of entry in mind, so inspectors have clear boundaries when attaching images and reviewers receive focused material. Revisit the limits when a field’s evidence needs change, rather than applying one upload allowance indiscriminately.
Mobile field inspection apps and searchable records
Choose a mobile workflow that turns each inspection into a retrievable record. Connect findings, location, photos, and follow-up so field teams can search beyond the camera roll.
- Set a consistent record structure before inspections begin. Include the inspection date, site, asset, finding, and responsible team member. Use stable labels, such as “east wall” or “roof drain.” For example, label a component with its site and asset ID. This helps colleagues find records without guessing how another inspector named the location.
- Capture location details with each inspection entry. Forms can record GPS location when submitted, linking reports to sites. Review the location alongside the asset name, especially at properties with similar buildings. Knowing how to document field inspections with photos also means making location searchable, not just visible in an image.
- Make findings searchable, not just files. Use structured fields for condition, issue type, and corrective action, then filter results to find specific conditions across assets. For example, narrow records to reports documenting damaged flashing instead of opening photos one by one. Keep field names consistent so searches return related findings.
- Use the dashboard to review open records and reporting gaps. Group results by site, date, or finding, then spot missing details before reports move forward. A supervisor could review recurring issues across locations without manually opening every record. Keep each dashboard result connected to its underlying inspection entry and evidence.
- Archive histories in a searchable format. A field record may need to be retrieved six months after an inspection, and searchable labels and filters make the lookup more direct. When inspection photos accumulate, manual review becomes difficult. A clear method for documenting field inspections with photos supports retrieval and comparison over time.
What information should be recorded during a field inspection?
Build each entry around the asset, observed condition, evidence, and next action. Capture these details together so a reviewer can understand the finding without reconstructing the inspection.
- Identify the inspection and location first. Record the site, building or asset, specific area, inspection date, and inspector. For example, “West building, second-floor corridor” is more useful than “inside.” Include a unit or equipment identifier when available. These details distinguish similar assets and help reviewers place each finding correctly.
- Describe the observed condition in plain, specific language. Name the material or component, its visible state, and where the issue appears. Replace “damaged wall” with “cracked drywall beside the east stairwell.” Separate what you observed from what you infer. That distinction gives the next reviewer a clear basis for assessment.
- Connect photos and supporting documents to the finding. Each image should show the relevant asset and condition, with a caption explaining the evidence. Attach related documents to the same entry rather than saving them as unlabelled files. Inspection forms can specify how many photos to capture and what those images should show.
- Record severity, impact, and any immediate action taken. For example, note whether a damaged handrail affects access, then describe any temporary measure. Avoid declaring a cause unless the inspection established it. Factual notes help the responsible team understand the issue without confusing observation with diagnosis.
- Document the next step and its status. Name the required corrective action, responsible role, and follow-up status if known. Use a clear entry such as “replace cracked cover, follow-up needed.” Keep the finding linked to its evidence and report. A structured inspection template can guide consistent fields for each record.
A 360-degree walkthrough records visible interiors for review, avoiding a jobsite return. Test photo uploads on inspectors’ devices and networks; offline apps store photos, forms, signatures on-device until sync; inspection history tracks records over time.
PHOTO iD: PHOTO iD Mobile App Subscription
PHOTO iD’s mobile app subscription supports a more organized inspection workflow. Use Custom Inspection Templates to structure entries around the details your team needs to capture. Automated Photo Labeling keeps images associated with inspection records, while Instant Photo Report Generation turns captured documentation into reports. Together, these tools can reduce manual sorting and report assembly when inspections produce many photos and findings.
Consider PHOTO iD when your current process leaves images disconnected from notes, templates, or final reports. The app brings these documentation tasks together through automated photo labeling, custom inspection templates, and instant report generation. Explore the PHOTO iD mobile app subscription to find a workflow that fits your inspection needs.
Make Your Next Inspection Easier to Review
Put the process to work on your next inspection. Choose one inspection type, define what a complete record should contain, and apply that standard consistently. After the visit, review the report as someone who wasn’t on site would. Can they understand the finding, locate its evidence, and see what should happen next? Use that review to refine your workflow before applying it more broadly.
Deciding how to document field inspections with photos is about more than capturing images. It’s about creating a record your team can understand and act on later. Keep improving the process as your inspection needs evolve, and choose tools that fit the way your field teams work.
Ready to explore a mobile workflow for inspection documentation? Contact PHOTO iD to discuss inspections. Build a clearer process, one inspection at a time.
Frequently Asked Questions
How does it work?
A mobile inspection workflow captures observations as connected records, not loose files. Start an inspection, choose the relevant asset, and add findings as they arise. Each entry can include supporting evidence and the next action. Before sharing the report, review it as a handoff: can a teammate understand what needs attention without asking you to explain the entry?
What apps and tools are best for documenting field inspections with photos?
Choose tools that fit your inspection process, devices, and reporting needs. A field app should make it practical to record observations on site and produce organized reports. PHOTO iD includes voice-to-text photo labeling, Custom Inspection Templates, and a Team Management Dashboard. These tools help teams use spoken labels, repeatable inspection workflows, and a shared view of project documentation.
How to document field inspections offline and sync photos later?
Use an app that stores inspection forms and photos on the device while offline, then syncs when a connection returns. Before entering a low-signal area, open the inspection and confirm the needed records are available. After reconnecting, review the uploaded report and compare its photos with your device copy. This catches incomplete transfers before you leave the site or clear local files.