
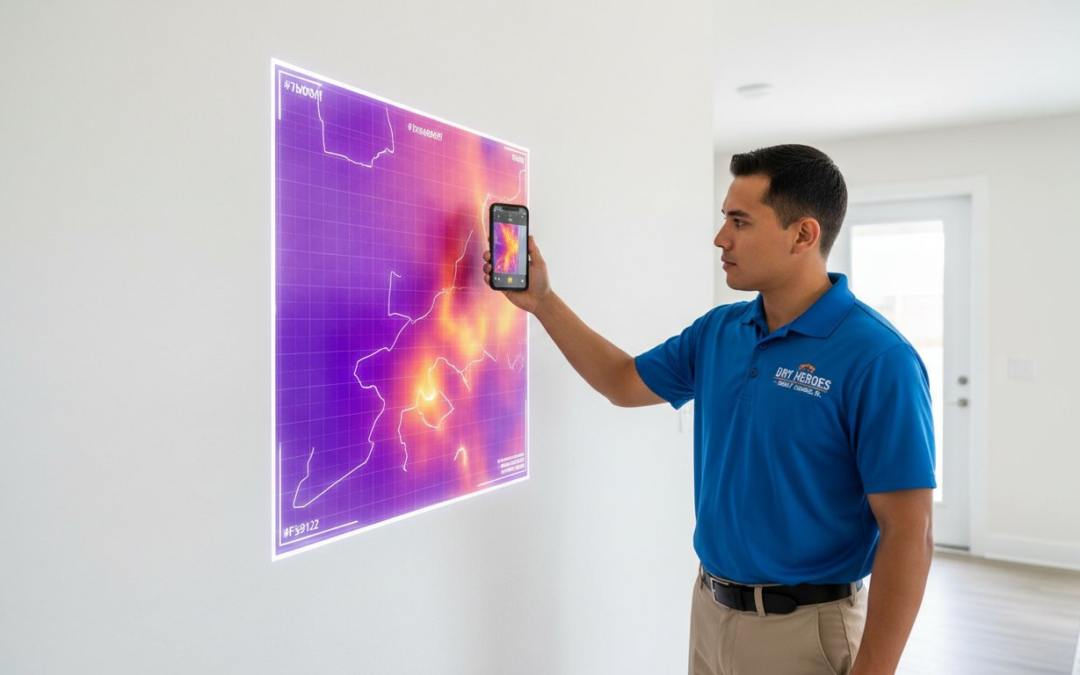
Missing just one hidden moisture pocket can lead to mold growth in as little as 48 hours, creating a massive liability for your firm. You know the frustration of scanning every inch of a property only to spend three hours manually labeling photos back at the office. It’s a bottleneck that kills your productivity and leaves your business vulnerable to claim denials. Mastering moisture mapping water damage isn’t just about finding wet drywall; it’s about building a bulletproof defense for your work.
We understand that you need to move fast without cutting corners. You deserve a documentation workflow that works as hard as you do. This guide promises to show you how to generate IICRC S500 compliant reports in 50% less time while ensuring no hidden moisture ever goes undetected. We’re breaking down a repeatable, high-velocity mapping process that turns chaotic field notes into professional documentation instantly. Stop guessing and start documenting with total confidence. It’s time to Snap, Speak, and Send your way to a more profitable jobsite today because A Picture is Worth a 1000 Words!
Key Takeaways
- Define the full scope of intrusion and establish clear dry standards by tracing water boundaries through all affected materials.
- Master a professional step-by-step workflow for moisture mapping water damage to identify hidden leaks and create bulletproof inspection reports.
- Ensure every project meets rigorous IICRC S500 standards to satisfy carrier demands and secure faster claim approvals effortlessly.
- Equip your team with essential tools like thermal imaging and hygrometers to capture precise ambient data and temperature anomalies instantly.
- Streamline your field documentation using the Snap, Speak, Send method to automate photo labeling and reclaim your valuable time!
What is Moisture Mapping in Water Damage Restoration?
Stop guessing where the water went. Moisture mapping water damage is the professional process of tracing every inch of intrusion to create a visual boundary of affected materials. It’s the difference between a successful mitigation and a failed claim. You aren’t just looking for puddles; you are establishing the exact scope of work and setting your “dry standard” baseline. This process ensures that every decision you make on the jobsite is backed by data, not intuition.
Don’t confuse detection with mapping. Detection is the simple act of finding moisture with a meter. Mapping is the strategic documentation of that spread across a property. This visual record prevents secondary disasters like mold growth, which can begin in as little as 24 to 48 hours, and long-term structural rot. When you document accurately, you protect the structure and your reputation. This Water damage overview highlights how assessment is the foundation of any restoration project. Snap the photo, document the reading, and justify your drying plan instantly.
The Science of Moisture Migration
Water is aggressive and rarely stays where it starts. It uses capillary action to climb through porous materials like drywall, insulation, and wood framing. Gravity pulls it down, but surface tension pulls it sideways and upward into dry areas. If you don’t map the migration, you miss the hidden damage lurking behind the baseboards. In professional restoration contexts, moisture migration is the physical movement of liquid water or water vapor through porous building materials and structural cavities. Streamline your inspection by tracking this movement before it compromises the building’s integrity.
Key Terminology for Field Adjusters
Mastering the vocabulary ensures your estimates stand up to scrutiny from carriers and clients alike. Use these terms to bring order to the chaos of a wet jobsite:
- Moisture Content (MC) vs. Relative Humidity (RH): MC measures the specific percentage of water held within a material like a 2×4 stud, while RH tracks the moisture levels in the surrounding air.
- Dry Standards: You must establish what “normal” looks like by testing an unaffected area of the same material in a different room.
- Affected vs. Unaffected Zones: Draw a clear line between what’s wet and what’s dry. This distinction dictates your equipment placement and your final invoice.
Effective moisture mapping water damage turns a chaotic scene into a structured plan. It provides the visual evidence needed to prove that your drying goals have been met. Remember, a picture is worth a 1000 words, but a moisture map is worth the entire claim. Trace the path, record the data, and move to the next job with confidence.
How to Perform Moisture Mapping: A Step-by-Step Workflow
Stop the guesswork. Efficient moisture mapping water damage requires a disciplined, repeatable workflow that satisfies both your crew and the insurance carrier. Follow these five steps to master the jobsite and ensure your documentation is bulletproof from day one.
- Step 1: Perform a visual inspection to identify obvious signs of intrusion like bubbling paint or 45-degree drywall cracks.
- Step 2: Use thermal imaging to locate temperature anomalies behind surfaces.
- Step 3: Confirm “wet” areas with moisture meters using both pin and pinless modes.
- Step 4: Establish a dry standard in an unaffected room with identical materials.
- Step 5: Document every reading with a labeled photo to prove the claim.
Initial Assessment and Thermal Imaging
Grab your infrared camera first. Perform a wide-angle scan of the affected area to identify cold spots. These temperature drops often signal active evaporation. Understand that IR cameras are indicators; they do not see water. They see thermal energy differences. Use these visual cues to pinpoint the Point of Origin. Clear documentation of the leak source is non-negotiable for claim approval. Identify the source, capture the thermal signature, and move fast. Speed prevents secondary damage like mold growth, which can begin within 24 to 48 hours of initial saturation.
Confirming Readings with Moisture Meters
Transition to your moisture meters to verify what the camera suggests. Use non-invasive, pinless meters for finished materials like hardwood or tile. This prevents unnecessary damage to the property while giving you a percentage of moisture content. Switch to pin-type meters for structural framing or deep-seated moisture where penetration is necessary for accuracy. The IICRC S500 Standard dictates that you must track these readings daily. Constant monitoring ensures your drying equipment is positioned for maximum efficiency. If a reading doesn’t drop during a 24-hour cycle, your drying plan needs immediate adjustment.
Establish a dry standard immediately. Find an unaffected room with identical materials to set your goal. Record this baseline. Finally, document every single reading. A labeled photo is your best defense against a denied claim. Use PHOTO iD to capture and label these readings instantly. Snap the photo, speak the location, and move to the next room. This restores order to the chaos of the jobsite while building a bulletproof file. It’s about working smarter, not harder. Your field documentation should tell a complete story of the restoration process without leaving room for interpretation. A picture is worth a 1000 words!
Essential Tools for Professional Moisture Mapping
Success on a water loss site depends entirely on the hardware in your kit and the software on your phone. You cannot manage what you do not measure. Professional moisture mapping water damage requires a combination of precision sensors and instant documentation to ensure every wet square foot is accounted for. High-tech tools turn guesswork into undeniable proof for adjusters and homeowners alike. These devices provide the data needed to justify your drying plan and get your invoices paid without a fight.
- Thermal Imaging Cameras (FLIR): These are your first line of defense for hidden leaks. They detect temperature differentials that signal moisture behind drywall or under floors. A cool spot on a warm wall often reveals a leak that hasn’t surfaced yet.
- Hygrometers: Use these to track ambient conditions. You must monitor relative humidity (RH) and air temperature to calculate Grains Per Pound (GPP). This data proves your dehumidifiers are actually drying the air.
- Moisture Meters: These provide the hard percentages for your reports. Whether invasive or non-invasive, they quantify the moisture content in building materials to establish a drying baseline.
- Documentation Software: Move away from paper logs immediately. Digital, cloud-based apps ensure your data is backed up and accessible to the whole team instantly.
Choosing Between Pin and Pinless Meters
Select your meter based on the surface material. Pinless meters are best for tile, hardwood, and delicate wallpapers because they scan without leaving unsightly holes. They use capacitance to check moisture levels up to 0.75 inches deep. Use pin meters for subfloors, sill plates, and insulation checks. Pins provide the physical contact needed for deep structural drying verification. Always use the same meter for consistency throughout the project. Consistency ensures your drying curves are accurate, professional, and defensible during a claim review.
The Role of Mobile Inspection Apps
Your smartphone is your most powerful documentation tool. Stop carrying heavy cameras and messy clipboards. Use a mobile app to integrate meter readings directly into a photo report. This eliminates the “evening office work” that drains your productivity. Label your photos on-site using simple voice commands. Snap, Speak, Send! It is that simple. You effortlessly streamline the field documentation process and accelerate your Xactimate image import. A Picture is Worth a 1000 Words! Digital reporting ensures you document the loss instantly and get paid for every piece of equipment on the floor.
Documentation Standards: Meeting IICRC S500 Requirements
The IICRC S500 is the absolute authority in water restoration. It’s the professional’s bible. Carriers don’t just ask for Daily Drying Logs; they demand them for every single project. If your moisture mapping water damage process lacks these logs, expect claim denials. Industry reports indicate that roughly 15% to 22% of restoration invoices face downward adjustments because of “insufficient documentation.” Stop leaving money on the table. Automate your logs to ensure every reading is captured, timestamped, and verified. You need a system that restores order to the chaos of the jobsite.
Accurate documentation is your greatest defense against “scope creep” and payment delays. Professionalism isn’t just about the tools you use to dry the building; it’s about the data you use to prove it. When you provide a clear, chronological record of the drying process, you remove all doubt. You transform from a contractor into a trusted expert. This level of detail is exactly what modern carriers look for when reviewing files for approval.
Creating a Bulletproof Claim File
A moisture map without proof is just a drawing. Every data point on your map needs a corresponding photo of the actual meter reading. Don’t waste time typing out descriptions while wearing PPE. Use voice-to-text to instantly record the location, material type, and moisture content. This creates a seamless bridge for Xactimate image imports, making the transition from field to office effortless. Snap, Speak, and Send your way to a faster payout. Remember, A Picture is Worth a 1000 Words!
Adjusters appreciate clarity. When they see a file where every photo is categorized and every reading is clear, they approve the claim faster. You eliminate the back-and-forth emails. You stop the phone calls. Organized, labeled photos speed up the Xactanalysis review process by approximately 35%. You get paid for the work you actually did because you provided the evidence to back it up.
Establishing the Drying Goal
You must document the “Dry Standard” immediately. Use an unaffected area or a similar material to set the benchmark. This baseline makes your drying goals indisputable to adjusters. Track the Loss of Moisture (LOM) over the critical 3 to 5 day drying window. This data proves your equipment is working and the structure is responding as expected. It’s the only way to justify keeping fans and dehumidifiers on the jobsite for the duration of the project.
Strict IICRC compliance protects the contractor from future liability by providing a permanent record that the property reached a pre-loss condition. If mold or structural issues arise months later, your moisture map is your shield. Don’t guess. Document. Your reputation and your bottom line depend on it. High-velocity documentation ensures you stay ahead of the curve and protected from risk.
Streamline Your Moisture Mapping with PHOTO iD
Stop wasting hours on manual data entry. Documentation shouldn’t be a bottleneck in your restoration workflow. PHOTO iD transforms your smartphone into a high-speed reporting engine that captures every detail instantly. Use our signature Snap, Speak, Send workflow to document moisture mapping water damage with unmatched precision. It’s time to eliminate the chaos of the jobsite and replace it with a structured, professional process that carriers love.
Our automated photo labeling means you never have to guess where a photo was taken or what the reading meant. The app does the heavy lifting for you. You can generate a comprehensive, professional moisture map and deliver it to the carrier before you even leave the property. This speed doesn’t just look good; it accelerates the entire claims process. Restoration managers also gain a massive advantage with real-time oversight. You can monitor multiple jobsites simultaneously, ensuring every technician follows the same high standard of field documentation.
- Snap: Capture the high-resolution evidence you need.
- Speak: Record the data points without putting down your tools.
- Send: Deliver the final report instantly.
Voice-to-Text for Instant Meter Documentation
Keep your hands on your equipment and your eyes on the damage. Speak the moisture percentage and the specific location while your meter is still pressed against the wall. PHOTO iD uses advanced voice-to-text technology to embed that data directly onto the image as a clear, permanent label. This eliminates the need for messy notes or memory games back at the office. By capturing data at the source, you reduce office administrative time by 75% per claim. It’s the most efficient way to handle moisture mapping water damage in the field today.
Seamless Xactimate and Verisk Integration
Don’t let your documentation stall during the estimating phase. PHOTO iD allows you to export organized, labeled photos directly into Xactimate and Verisk platforms. This seamless integration maintains a consistent narrative from your initial inspection to the final dry-out. You provide adjusters with a transparent, undeniable record of the work performed, which leads to faster approvals and fewer disputes. Stop fighting with cumbersome image uploads and start closing files with confidence. A Picture is Worth a 1000 Words!
Master Your Documentation and Own the Jobsite
Mastering moisture mapping water damage sets the elite professionals apart from the rest. You now have the blueprint to meet IICRC S500 requirements and use professional-grade tools with total precision. High-quality documentation isn’t a chore; it’s your strongest defense and your fastest path to getting paid. Join the thousands of property adjusters and inspectors who’ve already ditched the manual grind. You’ll reduce report writing time by 40% and use instant Xactimate-compatible photo labeling to keep your files organized.
Snap, Speak, Send your way through the next inspection. Empower your team, streamline your process, and finish every job with total confidence. A Picture is Worth a 1000 Words! Take the chaos out of your field work today. You’ve got the skills to lead the industry and our technology is ready to back you up every step of the way. Your future of efficient, stress-free inspections starts right now.
Streamline your moisture mapping workflow with PHOTO iD; Start your free trial!
Frequently Asked Questions
What is the purpose of moisture mapping?
Moisture mapping water damage identifies the exact boundaries of affected areas and tracks the drying progress over time. It provides the visual and data-driven proof needed to justify your equipment placement to adjusters. By establishing a clear perimeter, you prevent secondary damage and ensure 100% of the wet materials are addressed. Use this process to transform a chaotic jobsite into a structured, professional restoration project.
Do I need an IICRC certification to perform moisture mapping?
You don’t need a legal license to perform mapping, but 90% of insurance carriers require IICRC S500 compliant documentation for claim approval. Following these industry standards ensures your readings are defensible during a desk audit. Certification proves you have the technical expertise to handle complex drying scenarios. Get certified to boost your credibility and secure higher-tier contracts with major insurers.
What is the difference between a pin and a pinless moisture meter?
A pinless moisture meter uses radio frequency to scan for water without damaging surfaces, while a pin meter measures electrical resistance by penetrating the material. Use pinless meters for rapid 0.75 inch deep scans of tile or hardwood. Switch to pin meters for precise readings in drywall or framing. Balancing both tools allows you to document moisture mapping water damage with total accuracy and zero unnecessary repairs.
How often should I record moisture measurements during the drying process?
Record your moisture measurements once every 24 hours to comply with IICRC S500 Section 13.5.2 standards. Daily monitoring allows you to adjust equipment like dehumidifiers and air movers based on real-time evaporation rates. If a material isn’t drying after 24 hours, change your strategy immediately. Consistent daily logs provide the chronological proof adjusters need to pay your invoice without disputes.
Can thermal imaging cameras detect water through walls?
Thermal imaging cameras don’t see through walls; they detect surface temperature differences caused by evaporative cooling. These devices identify anomalies as small as 0.1 degrees Celsius to locate potential leaks behind surfaces. Always verify a thermal cold spot with a moisture meter to confirm the presence of water. This combination of speed and precision lets you find hidden issues in seconds.
What is a dry standard in water damage restoration?
A dry standard is a moisture reading taken from an unaffected material of the same type within the same property. Establish this baseline by testing a dry area of drywall or flooring to determine your goal for the restoration. Most professionals consider a material dry when it’s within 10% of this control reading. Setting a clear dry standard eliminates guesswork and defines your project’s completion point.
How do I document moisture mapping for an insurance claim?
Document your mapping by capturing photos of your meter readings directly at the source of loss. Use a mobile app to instantly tag these images to a digital floor plan for 100% transparency. Insurance adjusters demand a clear narrative that shows the job is getting drier every day. Snap your photos, speak your notes, and send the report to streamline your reimbursement.
Is moisture mapping required for mold remediation?
Moisture mapping is essential for mold remediation because mold spores can germinate in as little as 24 to 48 hours in damp environments. You must identify the moisture source to ensure the mold doesn’t return after cleaning. Mapping identifies hidden pockets of humidity that could fuel future fungal growth. Stopping the water is the only way to guarantee a successful, long-term remediation.