
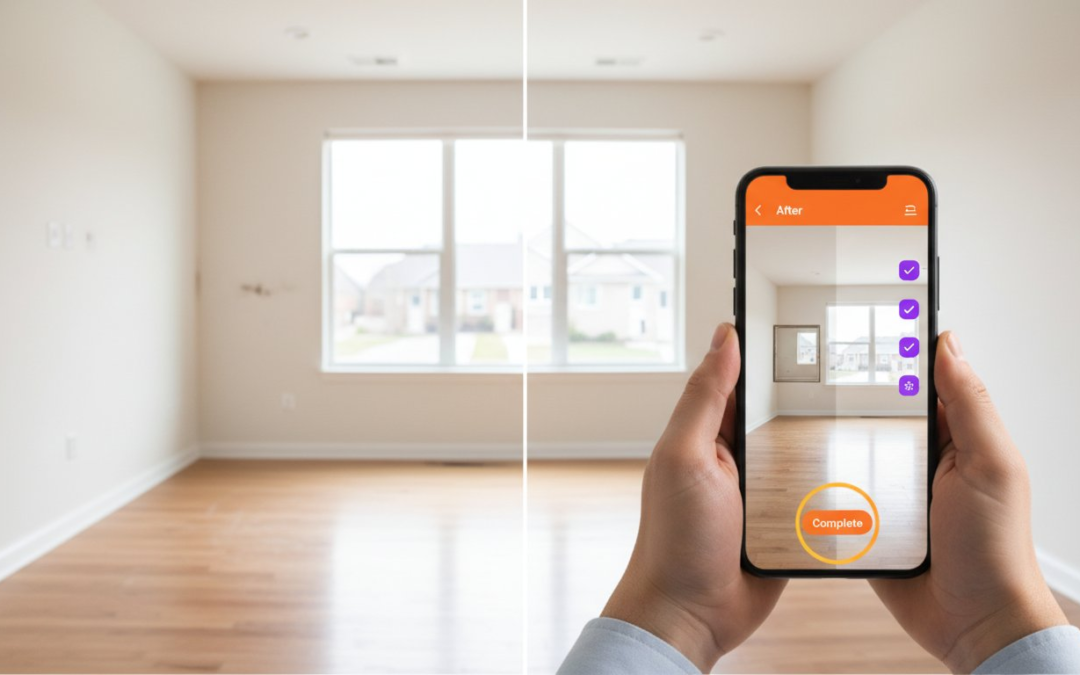
What if your standard inspection photos are actually working against you? With California’s AB 2801 now requiring landlords to provide photographic evidence for every security deposit deduction, learning how to document property condition before and after is no longer optional; it’s a legal necessity. You already know the drill. You spend hours manually labeling blurry photos, fighting disorganized camera rolls, and praying you didn’t miss that one crucial pre-existing scratch. It’s a slow, frustrating, and risky way to do business.
This guide shows you exactly how to master professional documentation to eliminate liability and reclaim your time. You’ll learn to replace the chaos of a manual workflow with automated precision, turning site visits into searchable, legally binding narratives. We’re diving into the latest legislative requirements, the power of instant report generation, and the workflow secrets that cut inspection times in half. Capture, categorize, and conquer!
Key Takeaways
- Shield your business from liability by mastering a professional risk-management strategy. Establish an undeniable burden of proof that stops damage disputes before they start!
- Discover the most efficient way how to document property condition before and after using a consistent walk-through path. Focus on high-risk zones to ensure zero missed areas during your baseline assessment.
- Eliminate the “Photo Dump” disaster with real-time organization and automated labeling. Stop wasting hours on manual sorting and start producing searchable, professional reports instantly.
- Leverage voice-to-text technology to document findings without ever touching a keyboard. Speed up your onsite workflow while maintaining total accuracy in every report.
- Perfect your ‘After’ assessments by mirroring original photo angles for direct comparison. Show off your workmanship with clear, side-by-side evidence that proves the job was done right!
Why ‘Before and After’ Documentation is Your Best Liability Shield
Stop treating documentation like an afterthought. It’s your armor. In the high-stakes world of property management, restoration, and construction, knowing how to document property condition before and after is the ultimate difference between a profitable project and a legal nightmare. Think of this process as a proactive risk-management strategy rather than a chore. When you conduct a professional Property Condition Assessment (PCA), you aren’t just snapping pictures; you’re building a fortress around your revenue and your reputation.
The burden of proof always falls on the professional. If a client claims your crew cracked a tile, dented a wall, or stained a carpet, a simple “we didn’t do it” won’t save you. Without a timestamped, labeled baseline, you’re liable by default. These missed pre-existing conditions are silent margin killers. Every dollar spent on repairs you didn’t actually cause is a dollar ripped straight from your profit. Standardized, professional reporting changes the entire dynamic. It builds instant trust with insurance carriers and proves to your clients that you operate with total transparency and precision. Secure your margins. Protect your people. Prove your value!
The Legal Power of Synchronized Evidence
Insurance adjusters live and die by the timeline. Synchronized “Before and After” photos provide a clear, undeniable narrative that justifies every claim and every repair. This level of detail shuts down “he-said-she-said” litigation before it even reaches a courtroom. Contemporaneous documentation serves as the undisputed gold standard for legal evidence in property disputes. It’s impossible to argue with a timestamped photo that clearly shows a structural crack existed long before your team arrived on site. Capture the truth, categorize the facts, and conquer the dispute!
Protecting Your Reputation and Revenue
Professional reports do more than just stop lawsuits; they justify your worth. Use detailed baseline photos to support change orders when hidden damage emerges mid-project. This level of clarity prevents fraudulent damage claims against your crew and establishes you as the most reliable expert in the room. Consider the benefits of a bulletproof report:
- Eliminate Fraud: Stop “opportunistic” claims from property owners looking for free upgrades.
- Boost Satisfaction: High-quality documentation signals competence and builds client confidence.
- Speed Up Payments: Clear evidence leads to faster approvals from adjusters and stakeholders.
There’s a powerful psychological effect when a client sees an organized, professional report. It signals that you’re in control. It shows you respect their property. Most importantly, it ensures they’ll call you back for the next job because they know you’re a pro who doesn’t cut corners. Don’t leave your success to chance. Master the art of the report and watch your business thrive!
Creating a Flawless Baseline: The ‘Before’ Documentation Process
Don’t just walk onto a jobsite and start snapping random photos. You need a plan. Mastering how to document property condition before and after starts with a disciplined, repeatable process that leaves zero room for error. Establish a consistent walk-through path every single time. Whether it’s a residential restoration or a massive commercial build, following a standardized route ensures you never miss a corner. Most professionals align their workflow with the ASTM E2018-24 standard to maintain industry-grade precision. This isn’t just about taking pictures; it’s about creating a visual map of reality.
Focus your lens on high-risk zones first. Plumbing fixtures, roof transitions, and structural corners are where disputes usually live. You must capture wide-angle “context” shots to show the room’s layout, followed immediately by tight “detail” shots of specific pre-existing wear and tear. If you find a hairline crack in a foundation or a water stain on a baseboard, label it immediately. Identifying these issues before your crew picks up a tool is the only way to insulate your business from false damage claims. Inspect, identify, and insulate!
Interior Baseline Strategies
Go beyond the surface. Document the “heart” of the building by capturing mechanical systems like HVAC units, electrical panels, and water heaters. Look for the subtle clues of trouble, such as ceiling stains that suggest hidden roof leaks or frayed wiring. Since a camera can’t capture everything, use voice-to-text labeling to record sensory details. Note the musty smell of a basement or the grinding sound of an aging furnace. These digital notes provide a multi-dimensional record that a simple photo dump can’t match. To keep these notes organized without the manual headache, consider using a professional photo app designed for field speed.
Exterior and Structural Integrity
Adopt the “Clockwise Rule” for every building perimeter. Start at the front entrance and move clockwise, documenting every inch of the exterior siding, drainage systems, and foundation. This systematic approach is the backbone of how to document property condition before and after for high-stakes commercial projects. Don’t forget to look up. Roof conditions are notorious for disputes, so ensure you have clear evidence of existing shingle wear or flashing gaps. For large-scale sites, leverage aerial measurements to create accurate site maps. This provides a bird’s-eye view of the property’s baseline state, ensuring your “Before” record is as bulletproof as your reputation. Scan, save, and succeed!
Capturing the Transformation: Mastering ‘After’ Property Assessments
The job isn’t finished until the documentation is bulletproof. Finishing strong means more than just packing up your tools; it’s about creating a visual record that proves your value. To master how to document property condition before and after, you must treat your final walkthrough with tactical precision. Mirror your original angles exactly! If your baseline photo was a tight shot of a structural corner, your completion photo must match that perspective. This creates an undeniable side-by-side comparison that shuts down disputes instantly.
Document the quality of your workmanship with high-resolution detail. Show the completed repairs, the fresh seals, and the restored surfaces. Don’t forget the site cleanliness. Capturing evidence of debris removal and a swept jobsite prevents the “you left a mess” complaints that delay final payments. This is your professional sign-off. It’s the final layer of your liability shield. Capture, categorize, and conquer!
The Art of Side-by-Side Comparison
Your ‘After’ shots should serve as the perfect reflection of your ‘Before’ baseline. Use your original photos as a reference guide while you walk the site. This allows you to highlight the specific delta: what was broken, what you fixed, and what was added. A professional report shouldn’t just be a list of images; it should tell a story. By creating a narrative flow from disaster to restoration, you make it easy for insurance adjusters and owners to see the transformation. Clear evidence leads to faster approvals and happier clients.
Identifying New vs. Residual Issues
Accuracy is everything in 2026. With new legislation like California’s AB 2801 requiring landlords to provide post-repair photos for security deposit deductions, your timing must be perfect. Document everything immediately upon completion. This prevents confusion between pre-existing wear and tear and any issues that might have arisen during the project. Ensure every ‘After’ shot is digitally timestamped. This metadata is your ultimate proof of when the work was finalized. High-quality documentation isn’t just a record; it’s a game-changing partner that protects your revenue. Finalize the facts. Fast-track your payments. Secure your success!
Common Pitfalls in Property Documentation (And How to Avoid Them)
Don’t let a mountain of data become your biggest liability. Even if you understand the basics of how to document property condition before and after, a few technical slip-ups can render your entire report useless in a dispute. The “Photo Dump” disaster is the most common offender. Handing an adjuster or a judge 200 unlabeled photos is like handing them a puzzle with missing pieces. Without clear organization, those images lose their context, their credibility, and their legal weight. Quantity never replaces quality. Organize, optimize, and overcome!
Lighting failures and missing context are silent project killers. Poor visibility hides critical damage, leading to missed pre-existing conditions that eat your margins. Similarly, a high-resolution close-up of a crack is worthless if you can’t prove which room it’s in. Always pair your detail shots with a wide-angle context photo. Finally, stop falling into the storage trap. Relying on disorganized local device storage is a recipe for disaster. If a field tech drops their phone into a flooded basement, your evidence vanishes instantly. Don’t leave your defense to chance!
The Labeling Bottleneck
Manual photo labeling is the ultimate time-waster for field teams. It’s a slow, grueling process that often gets pushed to the end of the day when details are fuzzy. Generic filenames like “IMG_001.jpg” are a red flag for insurance adjusters and often lead to immediate documentation rejection. When you wait until you’re back at the office to label your site visit, you risk misremembering critical details. This creates inaccuracies that can be exploited in litigation. Stop the manual grind and switch to automated photo organization software to capture and categorize in real-time.
Ensuring Data Integrity and Security
In the legal landscape of 2026, timestamps and geotags are non-negotiable for defensibility. They provide the “where” and “when” that turn a simple picture into a piece of evidence. Cloud-based storage is equally vital, ensuring your entire team has real-time access to the latest site data. Automated photo organization prevents data loss during device failure by instantly syncing your field work to a secure digital vault. This level of technical integrity ensures your reports are always ready for scrutiny. Verify, vault, and validate!
Avoid these common traps by implementing a digital-first workflow:
- Standardize naming: Use automated tools to replace generic file names with descriptive, location-based tags.
- Mandate lighting: Ensure every tech carries a high-powered inspection light for dark corners.
- Sync instantly: Move away from local storage to prevent catastrophic data loss.
Your documentation is only as strong as its weakest link. By mastering the technical side of how to document property condition before and after, you ensure that every shutter click contributes to a bulletproof defense. Stay sharp. Stay synced. Stay protected!
Streamlining Your Workflow with PHOTO iD Automation
Stop fighting your camera roll and start dominating your workflow. While the principles of how to document property condition before and after are clear, the execution is often where field professionals stumble. PHOTO iD changes the game by replacing manual chaos with automated precision. This isn’t just another photo app; it’s a game-changing partner that restores order to your onsite documentation. Snap, speak, and send! It’s that simple. By utilizing voice-to-text labeling, you eliminate the need for manual typing in the field, allowing you to capture critical details hands-free while they’re fresh in your mind.
The power of instant photo report generation means you can deliver professional, branded results to your clients before you even leave the driveway. No more late nights at the office sorting through blurry images. Centralize your entire operation with a real-time team management dashboard that provides total oversight of every project. Empower your crew. Impress your clients. Insulate your business!
Automating the ‘Before and After’ Narrative
Consistency is the backbone of defensible evidence. Use custom inspection templates to ensure every team member follows the same path, capturing every required angle every single time. This standardized approach to how to document property condition before and after ensures your reports are uniform and professional. Industry data shows that automated photo labeling saves up to 50% of reporting time, letting you focus on the job rather than the paperwork. You can even integrate aerial roof and wall measurements directly into your condition reports, providing a comprehensive view of the property’s integrity from every perspective.
Collaborative Field Documentation
Modern problems require modern solutions. Empower your field teams with virtual inspection tools that allow for remote oversight and real-time collaboration. This connectivity ensures that even your newest techs produce expert-level documentation. Sharing instant reports with stakeholders, adjusters, and owners speeds up claim cycles and fast-tracks your project approvals. When everyone has access to the same high-quality evidence, disputes disappear and trust grows. Don’t let manual processes hold your business back. Start documenting like a pro with PHOTO iD today!
Secure Your Margins with Professional Precision
You’ve mastered the strategy. You’ve mapped the path. Now, it’s time to execute with speed! Mastering how to document property condition before and after isn’t just about protecting yourself from disputes; it’s about elevating your entire professional brand. By moving away from disorganized camera rolls and manual labeling, you reclaim your most valuable asset: time. Your reports are now your fortress!
Trusted by top-tier adjusters and contractors, PHOTO iD turns your field observations into bulletproof evidence instantly. Our voice-to-text labeling saves hours per report, while instant PDF generation ensures you deliver results before you even leave the site. Don’t let manual errors eat your profits or stall your claims. Take control of your documentation today. Capture, categorize, and conquer!
Stop the manual photo chaos. Get PHOTO iD now!
Go out there and dominate your next inspection with total confidence. You have the tools. You have the knowledge. Now, go capture the win!
Frequently Asked Questions
How many photos should I take for a property condition report?
Take enough photos to eliminate every blind spot in the room. A professional baseline typically requires four wide-angle corner shots to establish context, followed by detailed close-ups of every pre-existing blemish or high-value fixture. Don’t gamble with your liability by skimping on the data. More photos mean more protection. Capture, categorize, and conquer!
Is a video walkthrough better than taking individual photos?
Photos remain the industry standard because they provide higher resolution for detail and are significantly easier to label for specific evidence. While a video offers a quick overview, individual photos allow adjusters to zoom in on specific damage without scrubbing through minutes of footage. Stick to high-quality stills for the heavy lifting. Detail, depth, and defensibility!
What is the best way to organize hundreds of inspection photos?
Use automated photo organization software to categorize your images as you take them. Manually sorting through hundreds of files in your camera roll at the end of the day is a massive time-sink that leads to critical errors. Automation ensures every image is filed, labeled, and ready for reporting before you even leave the jobsite. Sort, sync, and succeed!
How do I prove the date and time a photo was taken?
Rely on digital metadata, specifically the encrypted timestamps and geotags embedded in every file. This data provides the undisputed proof of how to document property condition before and after with total legal authority. Professional apps lock this data in place, ensuring your evidence is tamper-proof and ready for any dispute. Trust the tech!
Should I use a professional inspection app or just my phone’s camera?
A professional inspection app is the only way to ensure your reports are bulletproof and searchable. While your phone’s camera captures the image, an app handles the labeling, storage, and instant report generation that manual workflows lack. Stop the manual grind and upgrade to a tool designed for field speed. Efficiency, accuracy, and order!
What are the most important areas to document ‘Before’ a restoration project?
Prioritize high-risk zones like plumbing connections, HVAC systems, and structural corners where disputes often arise. Documenting these areas before your crew arrives prevents claims for leaks, cracks, or mechanical failures that were already present. Establish a clear baseline to protect your project margins from the start. Inspect, identify, and insulate!
Can I use voice-to-text to label photos during an inspection?
Yes, voice-to-text labeling is a game-changing feature that allows you to narrate your findings hands-free. This technology eliminates the need for manual typing in the field, ensuring your descriptions are detailed and accurate while the information is fresh. It’s the fastest way to turn a photo into a professional record. Talk, tag, and transform!
How do I share property condition reports with insurance adjusters?
Generate an instant PDF report and share it via a secure cloud link or email directly from your management dashboard. This professional delivery speeds up the claim cycle and provides adjusters with organized, labeled evidence they can approve immediately. Stop the back-and-forth and get paid faster. Share, speed, and secure!